Gluten-Free Pumpkin Pie Bars with a spiced nut crust and fluffy burnt meringue garnish are a sophisticated upgrade to your typical pumpkin dessert. Add more flavor and flair to your holiday table with these wheat- and dairy-free treats.
Pumpkin and squash season is always an exciting (and delicious) time of year. From flaky pumpkin scones to savory squash hand pies, I’m always searching for new ways to feature sweet and creamy produce.
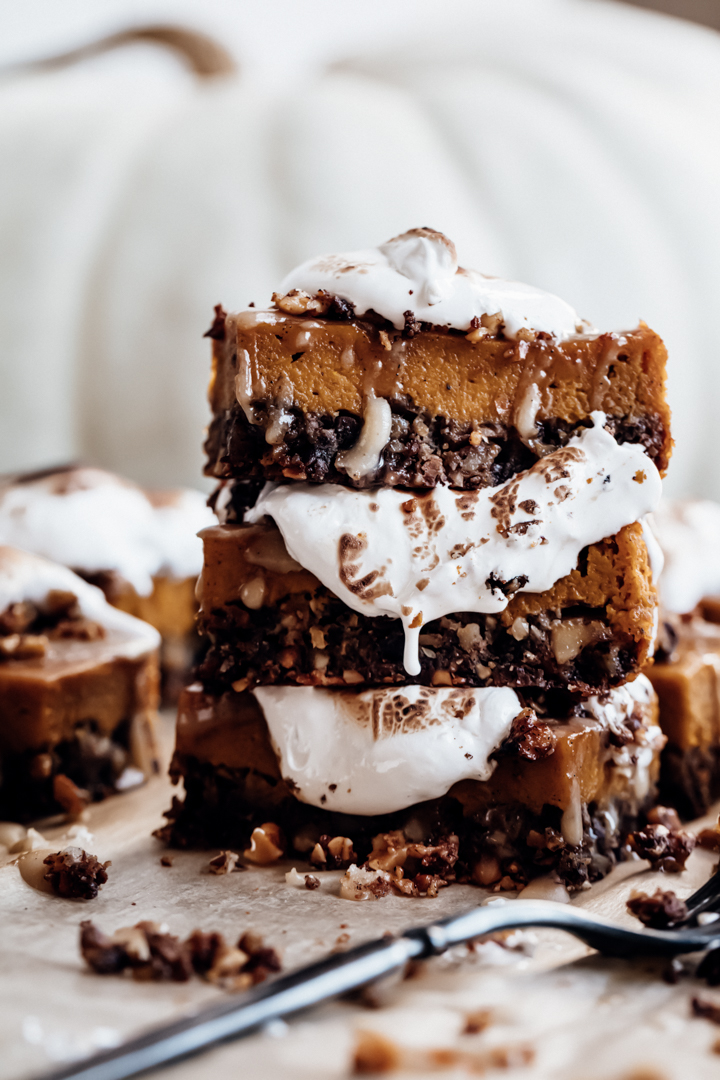
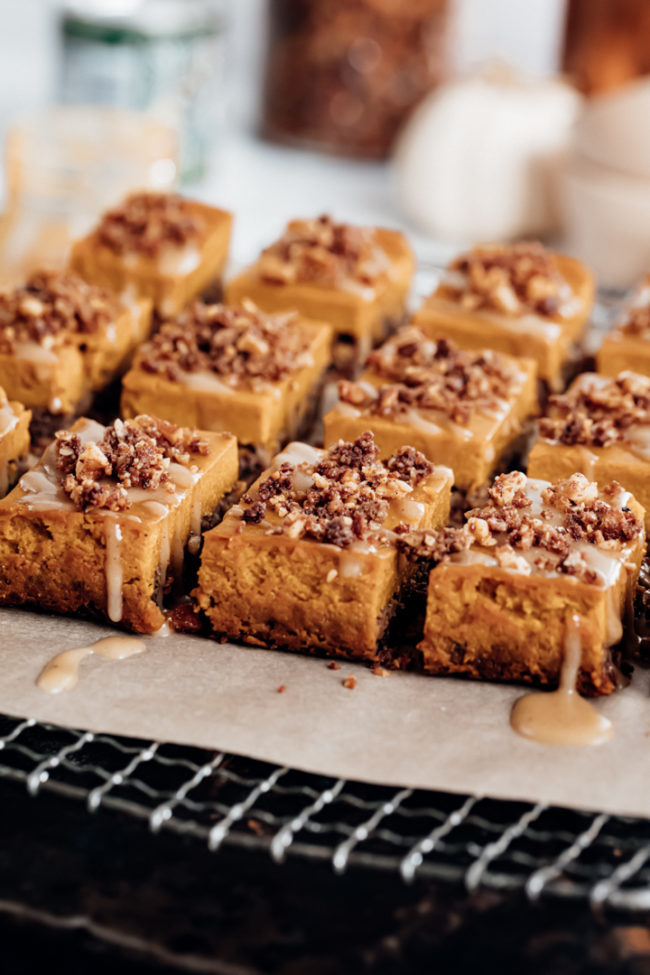
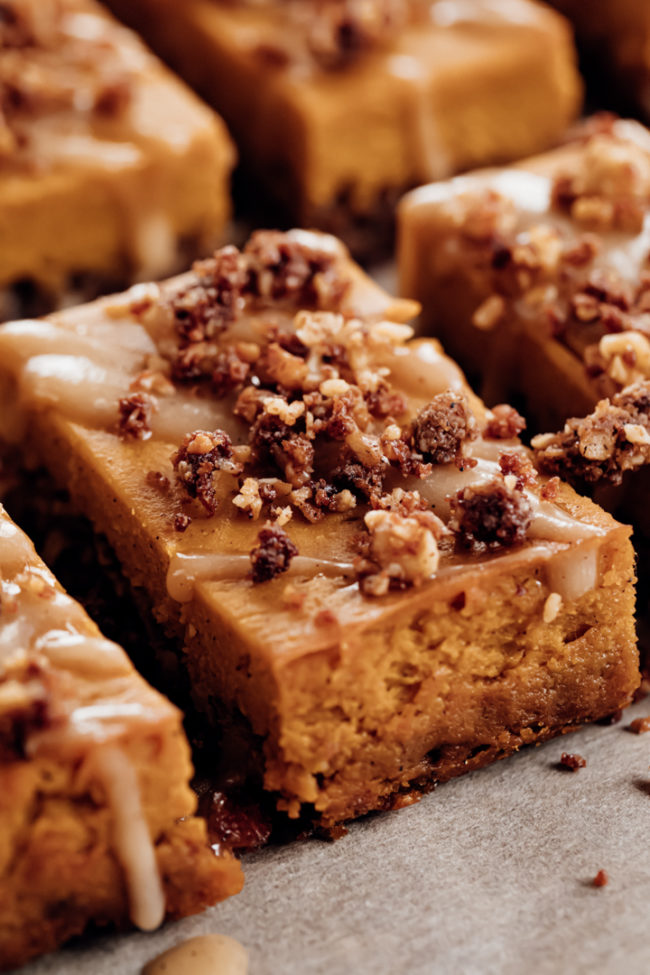
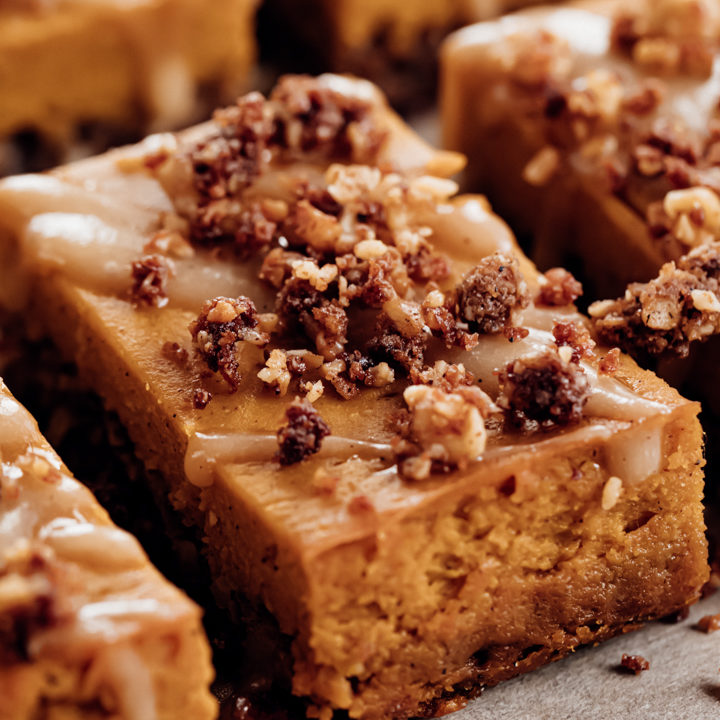
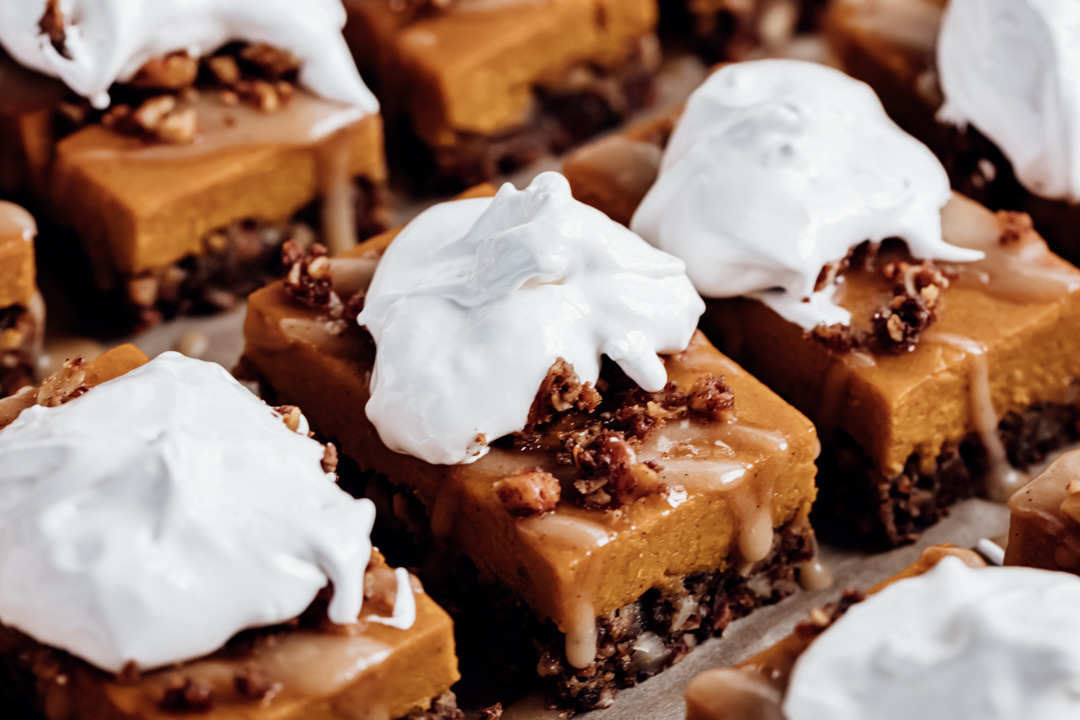
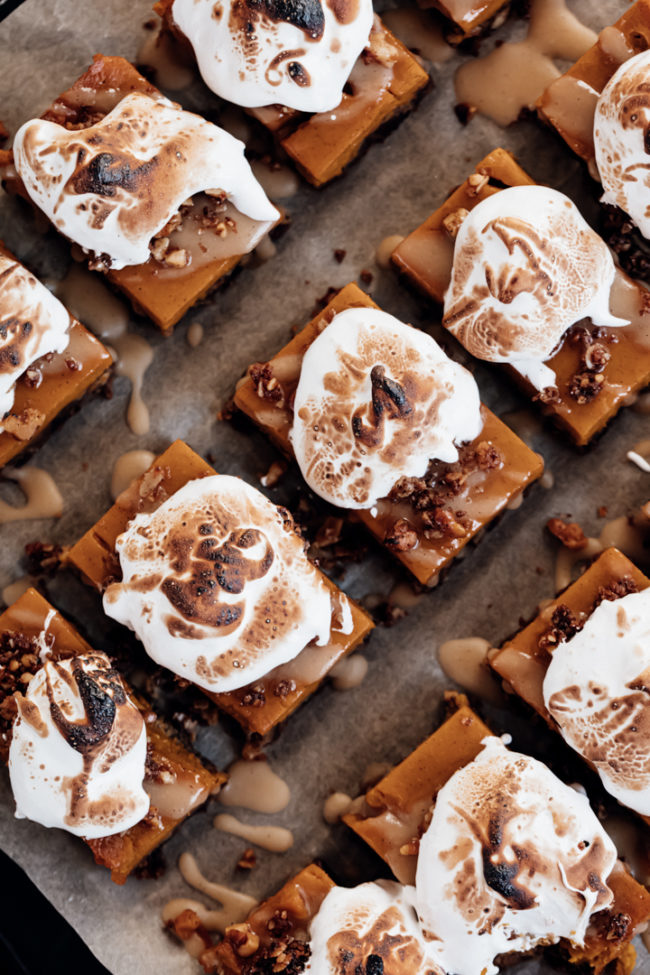
Instead of relying on classic pumpkin pie this year, I decided to take things up a notch with easy-to-transport, nutty and meringue-topped pumpkin pie bars. These bars have a sweet and creamy pumpkin filling, a crunchy cardamom nut crust, and a cloud of fluffy meringue on top for the total dessert package. Add them to your Thanksgiving menu or make them on a Tuesday––you can’t go wrong!
How to Make Pumpkin Pie Bars
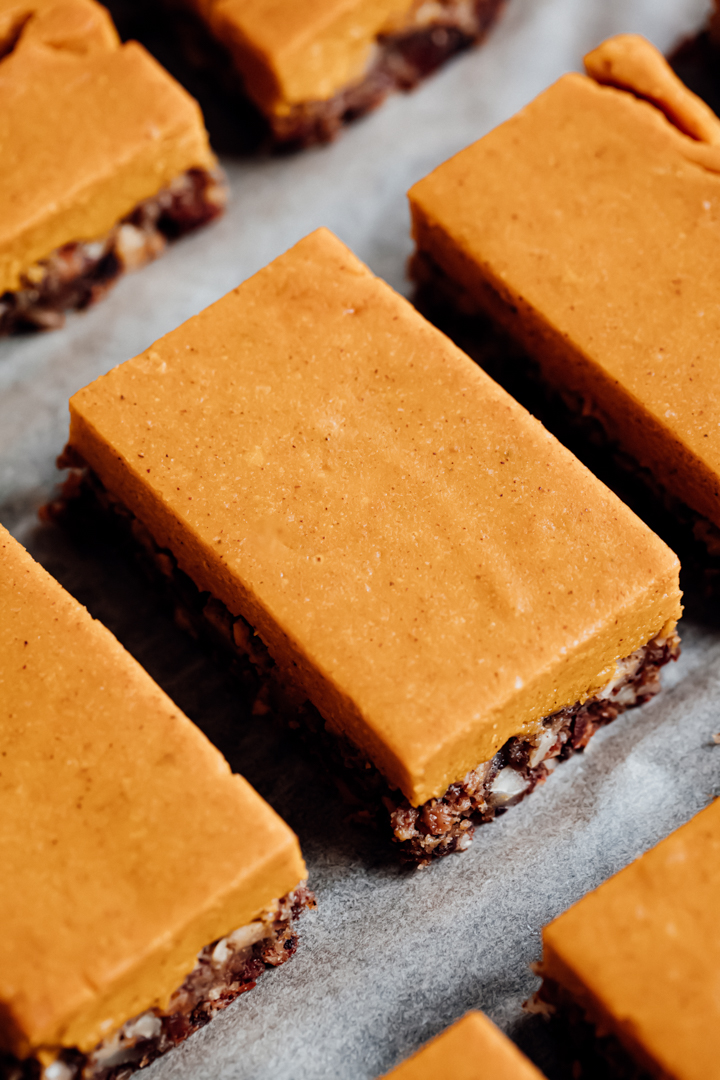
One thing that sets these bars apart from traditional pumpkin pie is their nutty crust. Naturally gluten-free, this crust gets its deep, rich flavor and crunchy texture from raw almonds. It’s naturally sweetened and held together with Medjool dates, coconut oil, and honey. For a vegan version, simply substitute the honey for maple syrup.
The pumpkin pie filling is also gluten-free and requires no thinkers for a perfectly custardy texture. A can of sweetened condensed milk, plenty of pumpkin purée, and your favorite fall spices make a well-balanced filling bursting with pumpkin flavor. Be sure to use 100% pure pumpkin purée, not pumpkin pie filling.
You can also make your own pumpkin purée by roasting diced, peeled pumpkin until very soft and puréeing it in a blender until smooth.
Pumpkin Pie Bars (Dairy-Free, Gluten-Free)
Gluten-Free Pumpkin Pie Bars with a spiced nut crust and fluffy burnt meringue garnish are a sophisticated upgrade to your typical pumpkin dessert. Add more flavor and flair to your holiday table with these wheat- and dairy-free treats.
Ingredients
Spiced Nut Crust
- 1½ cups raw almonds
- 2 tablespoons buckwheat flour
- ½ teaspoon cardamom
- ¼ teaspoon sea salt
- 2 large Medjool dates, pitted
- ¼ cup coconut oil
- 2 tablespoons honey
Meringue (optional)
- 1¼ cups caster sugar
- 1 teaspoon arrowroot flour
- ¼ teaspoon vanilla
- 1¼ teaspoons apple cider or white vinegar
- 5 large egg whites, room temperature
Pumpkin Filling
- 2 eggs
- 2 cups pumpkin purée
- 1 11-ounce can sweetened condensed coconut milk
- ½ teaspoon salt
- ½ teaspoon cinnamon
- ¼ teaspoon ginger
- ¼ teaspoon nutmeg
Instructions
Prepare Crust
- Preheat the oven to 350°F. Lightly grease an 8-inch tart pan with a removable bottom.
- In a food processor, combine the almonds, flour, cardamom, salt, and dates. Pulse until the nuts are almost finely chopped, so the mixture sticks together when pressed.
- In a small bowl, melt the coconut oil in the microwave. Add the honey and stir to combine. Slowly pour the coconut oil mixture into the food processor, pulsing as you pour. The mixture should start to stick together like a dough. Once you reach this consistency (it should only take a few seconds), press the crust into the prepared tart pan.
- Bake for 12-14 minutes or until golden brown. Remove and let cool for 30 minutes.
Meringue Topping (optional)
- In a small bowl, combine the sugar and arrowroot flour.
- In a separate bowl, combine the vanilla and vinegar.
- In a standing mixer with the whisk attachment, beat the egg whites until stiff but not dry. Gradually add the sugar mixture to the egg whites, about 1 tablespoon at a time, beating well after each addition. Beat until thick and glossy. Turn off the mixer.
- Pour in the vinegar mixture and beat on medium for 20 seconds or so, until just combined and the peaks remain stiff.
- Use immediately or store in an airtight container in the refrigerator for up to 7 days.
Prepare the Filling
- Preheat the oven to 350°F.
- In a standing mixer, beat together the eggs, pumpkin purée, and condensed milk until combined. Stir in the salt, cinnamon, ginger, and nutmeg.
- Pour the filling into the cooled crust. Bake for 30 minutes, rotating halfway through. The bars are done when the edges are firm to the touch but the center is still slightly jiggly. Turn off the oven and open the door so it can cool slowly to avoid cracking or splitting. Cool to room temperature then refrigerate overnight.
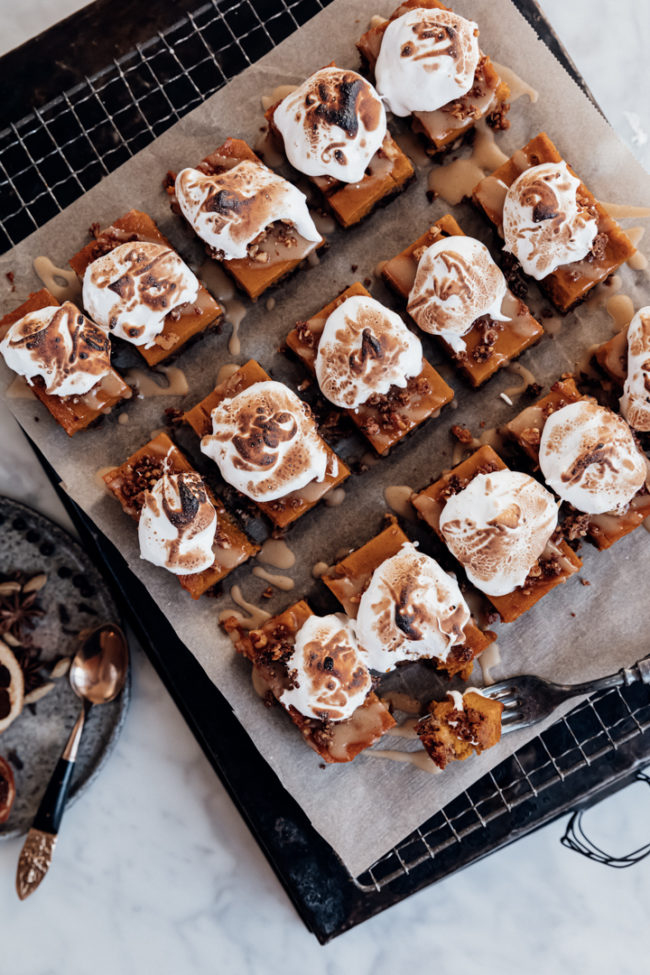
- Slice the bars into your desired sizes and top with meringue if you like. You can also lightly toast the meringue with a food torch.
- Store the bars in an airtight container in the refrigerator for up to 7 days.
Notes
If you don’t have caster sugar, you can substitute cane sugar. Just pulse it in the food processor for about 1 minute to make sure it’s nice and fine. You want to make extra-fine ground sugar, but not powder.
Serving
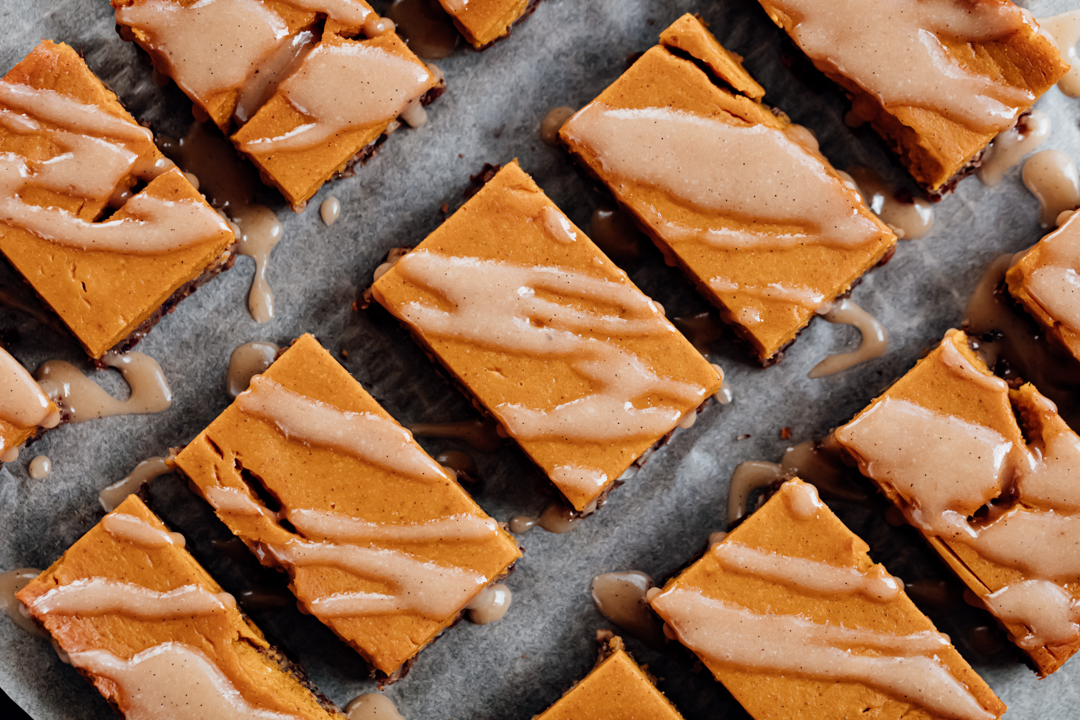
Another fun part about making bars instead of pie is that you can slice them into any shape you like. Once the fully cooked bars have chilled in the fridge overnight, they’re easy to slice and dice into pretty diamonds, classic rectangles, or squares.
After slicing, I like to add a topping of homemade meringue for a fancy touch that’s way easier than it looks. For that warm toasty look, use a food torch to brown the meringue.
This year, especially if you’re having a smaller Thanksgiving than usual, note that these bars are great for packing up and sharing with friends from a distance. There’s no one who won’t be thankful to find homemade gluten-free pumpkin pie bars on their doorstep!
I hope you enjoy these cute, sweet, and seasonal pumpkin pie bars as much as I do. If you want more festive recipes like this, be sure to connect with me on Instagram.