I recently moved into my new apartment in downtown Portland, and I was so overjoyed about the increase in space and larger kitchen and pantry! I was inspired to do some design upgrades, and my first stop was to do a pantry makeover.
I don’t know about you, but as a food blogger and writer, my pantry is the most important area in my kitchen. It’s incredibly key for it to be a peaceful, organized space so that my time is efficient. Especially when time is short, you need to know where that quinoa is before the water boils over, am I right?!
My pantry was so ridiculous that I couldn’t even bring myself to share a before picture for this image collection (let’s just say that I had shelf after shelf brimming with half used sacks and paper clips, missing labels and more)! All this contributed to frustration while developing recipes, which I do on a daily basis!
However, after my pantry makeover with Crate & Barrel, I’ve found that my kitchen and pantry is certainly my favorite room in the house. Everything feels peaceful, and I’m able to really focus on what’s at hand when I step into pulling together content for my next blog post. Honestly, it was the best investment of time, and the cash investment is totally affordable.
So, here’s how I did it! Here’s 5 easy steps to get your sad pantry back in order and blushing by your next spring gathering with friends:
1. Plan Ahead
I counted all the items in my pantry that I use on a regular basis. I came up with 25 primary spices and 10 types of flour alone!
2. Get the Right Storage
I went over to the Crate & Barrel site and started shopping under their kitchen organization section. I found all the containers that I loved that would best support the type of food I had. Here’s a couple tips:
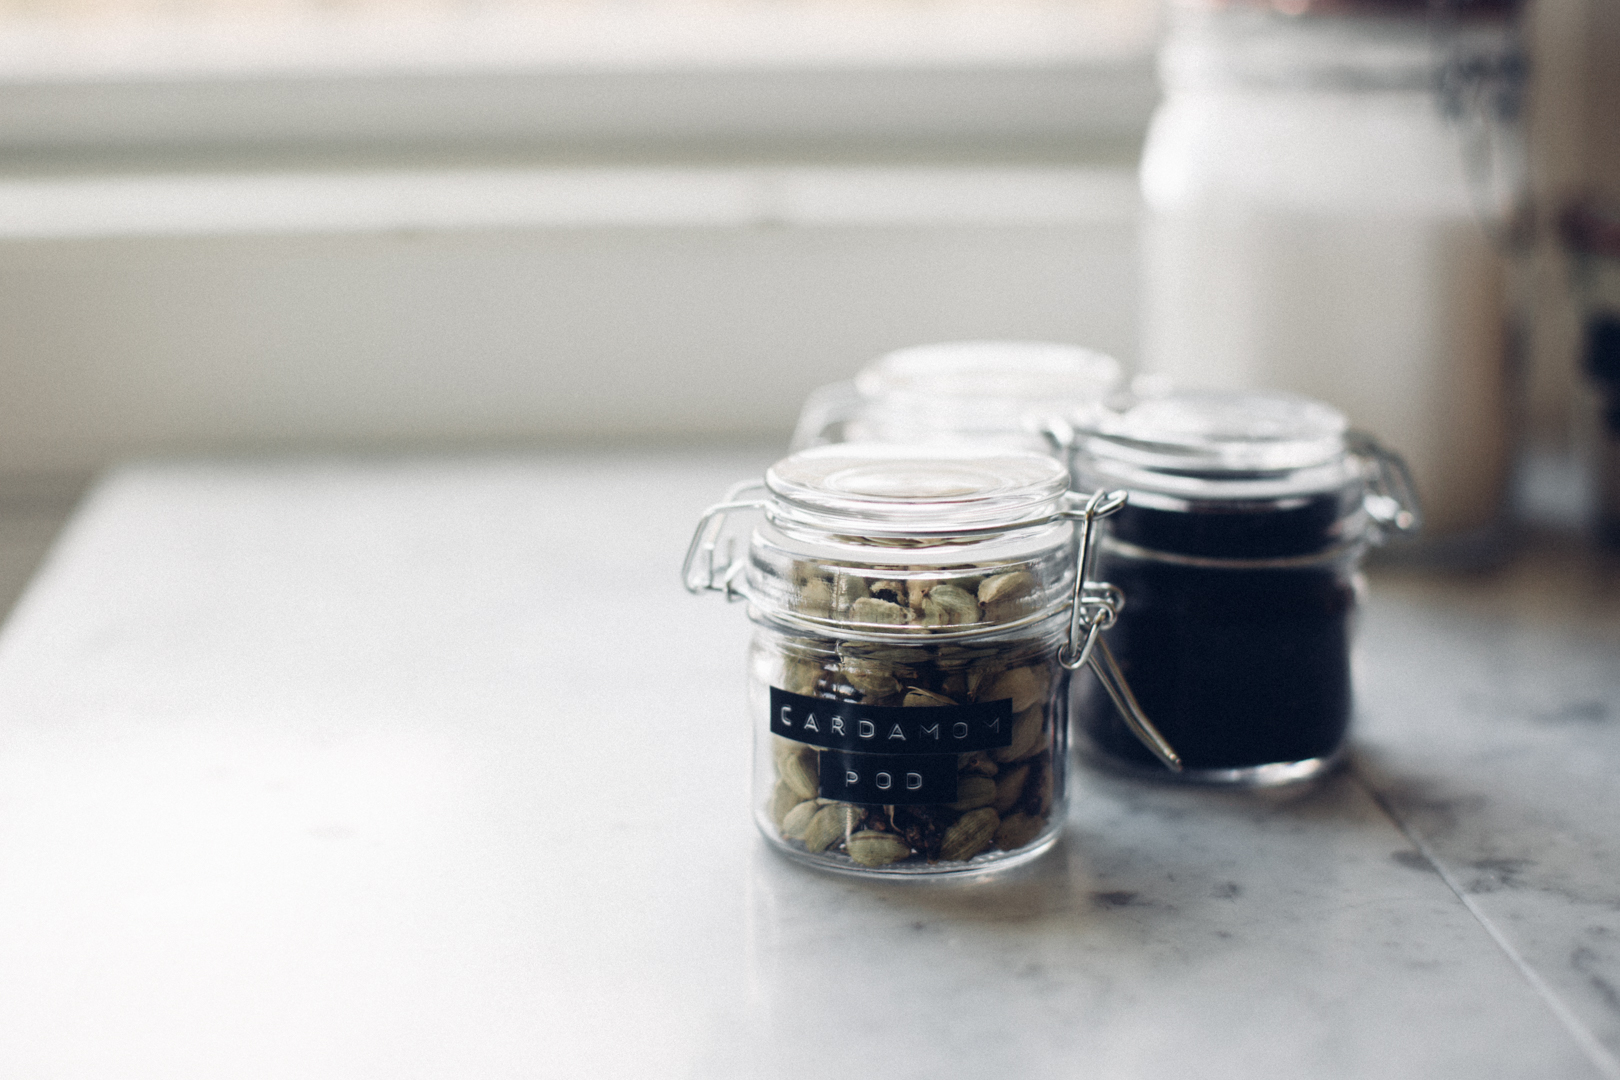
- I highly recommend storing your food in glass jars that have strong seals. Plastic storage is detrimental as chemicals from plastic manufacturing seep into your food over time. No good!
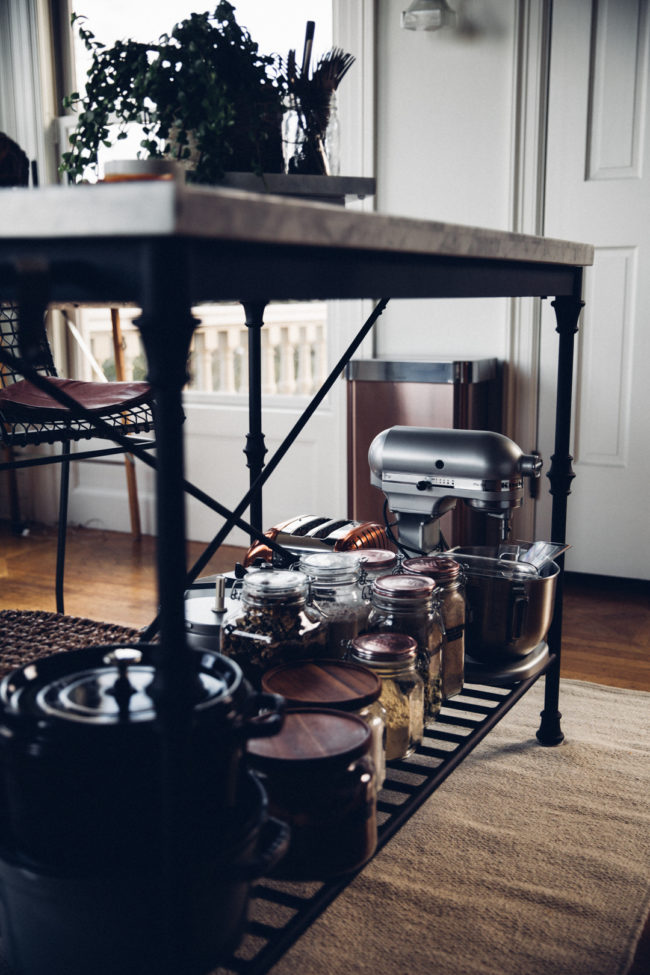
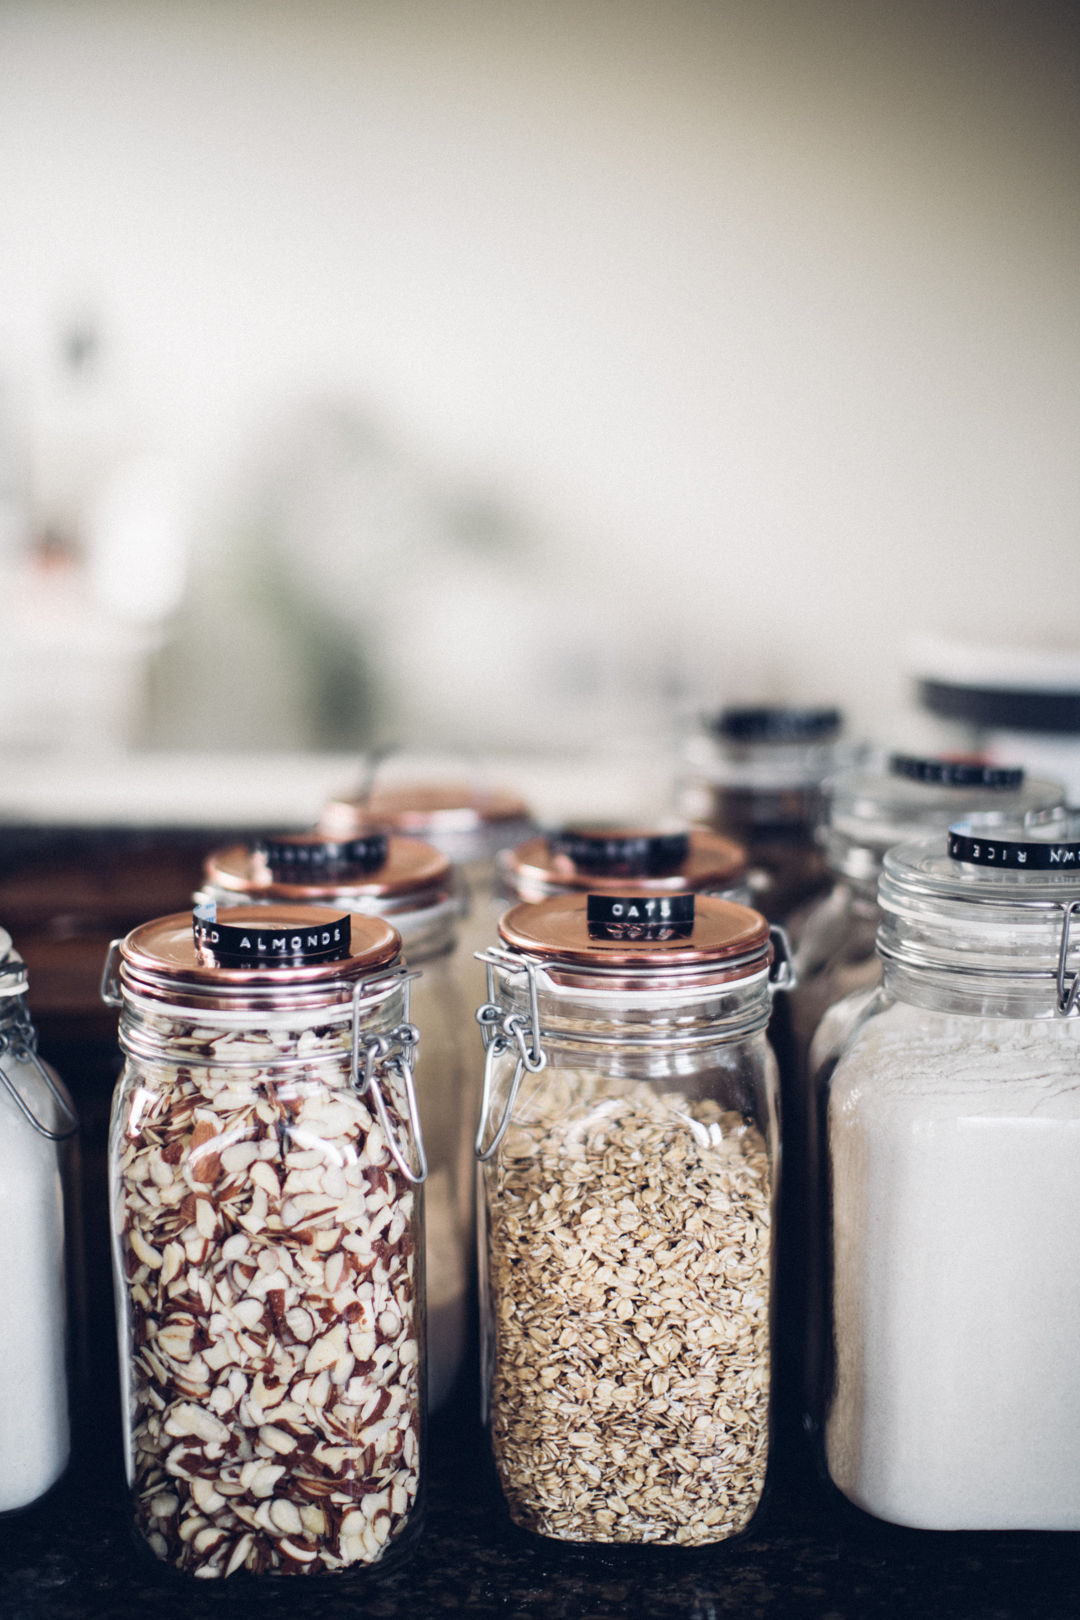
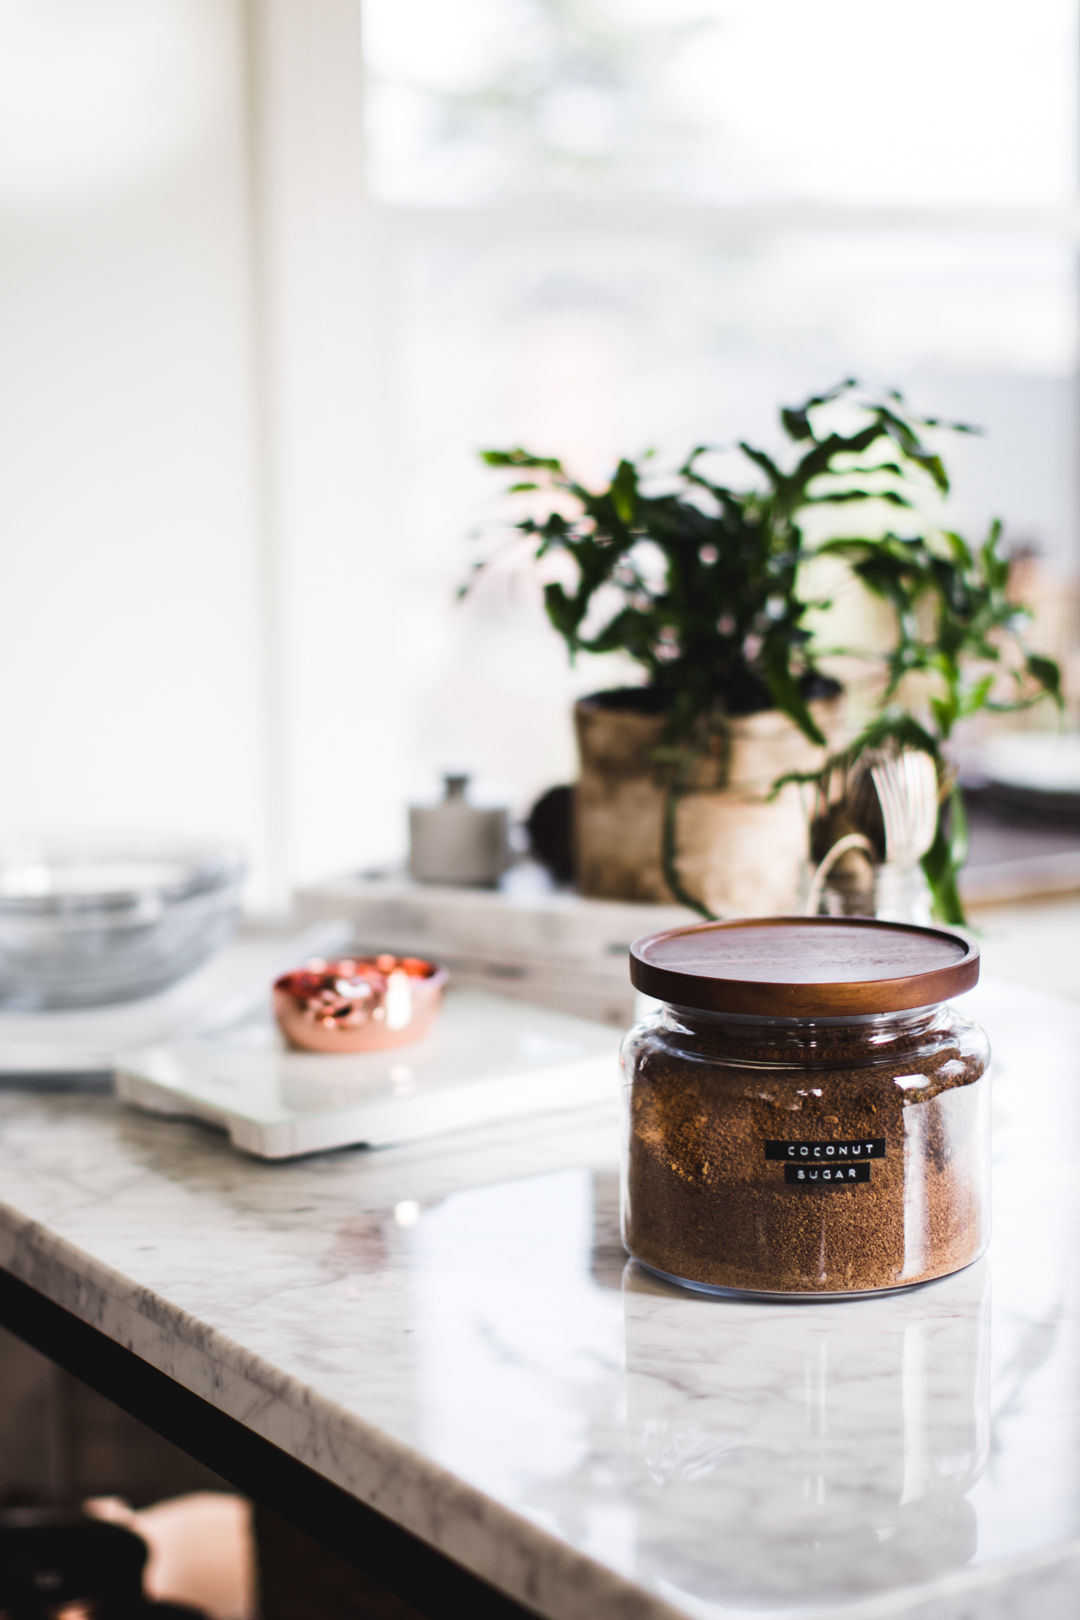
- I grabbed a few acacia jars with a wider mouth so that I could easily have my most used items like regular flour and sugar. I stored these directly under my island for quick and easy access.
3. Design Cohesively
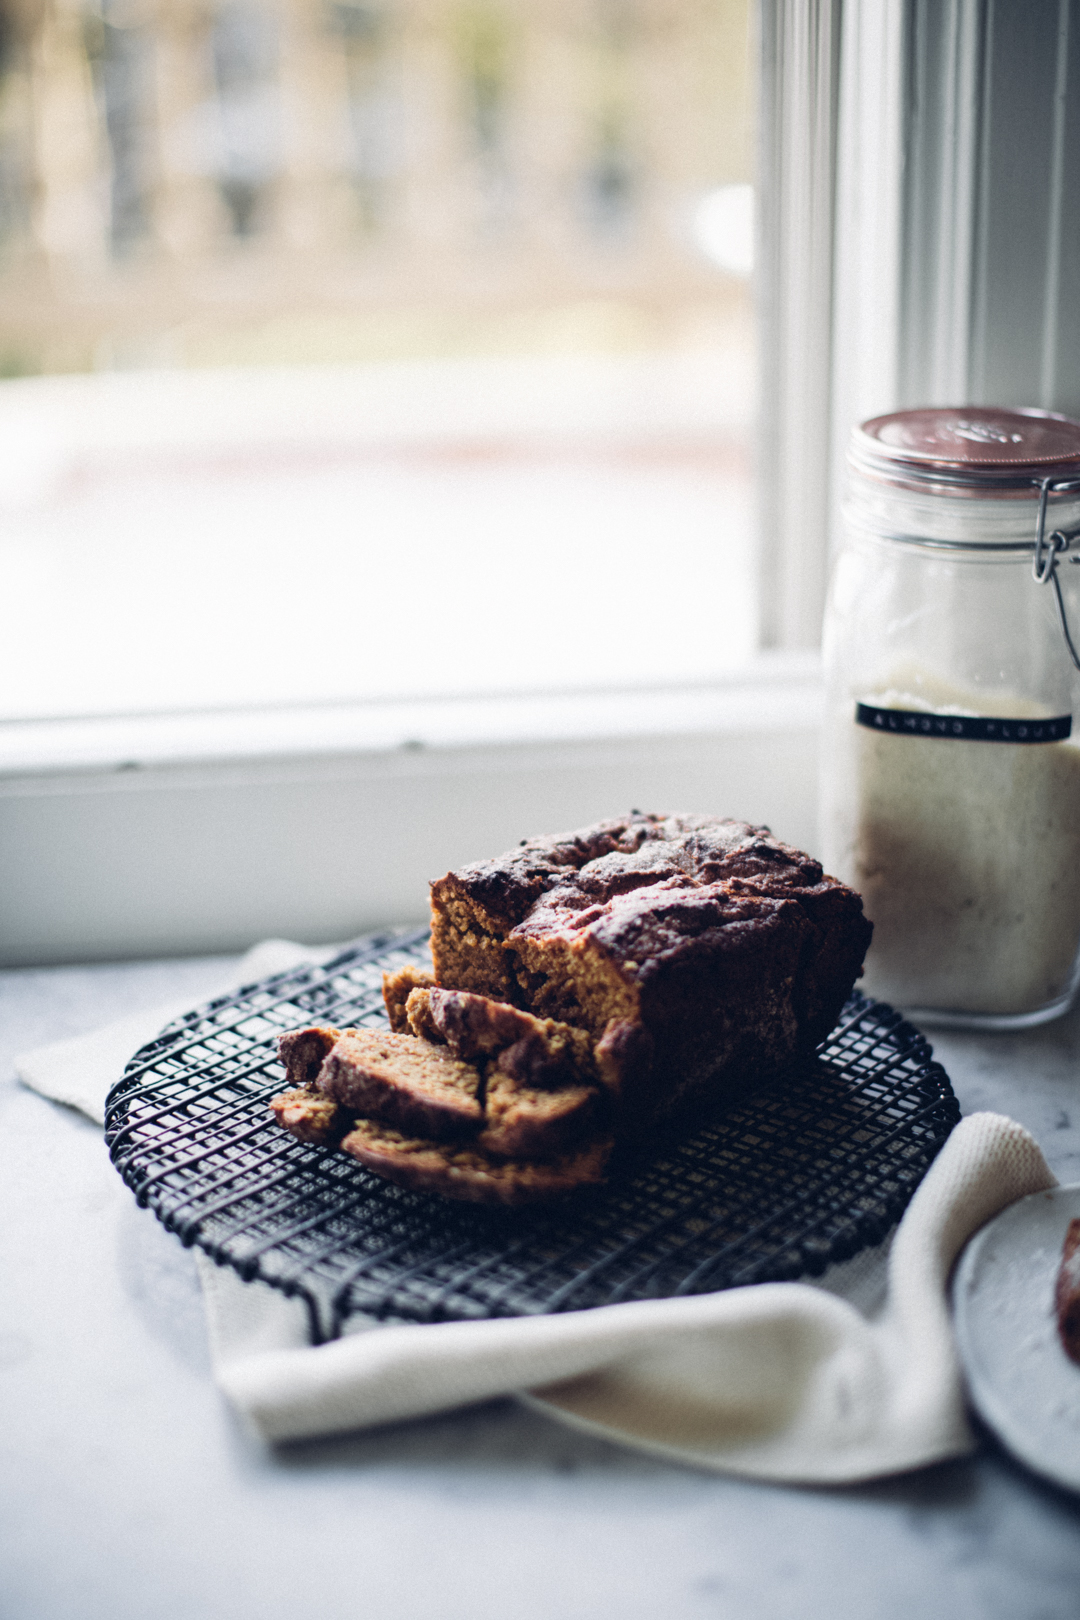
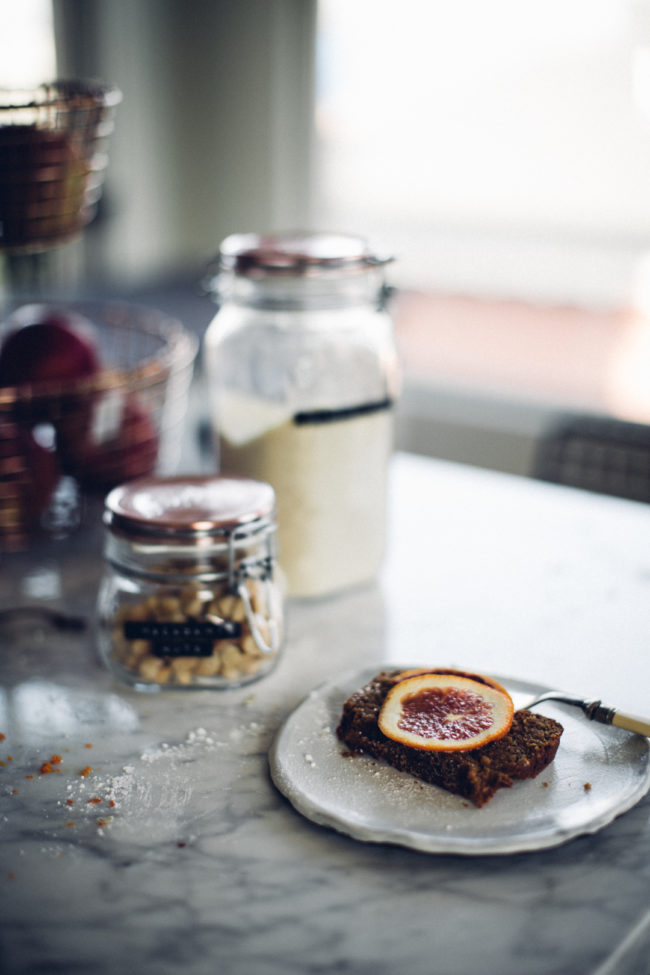
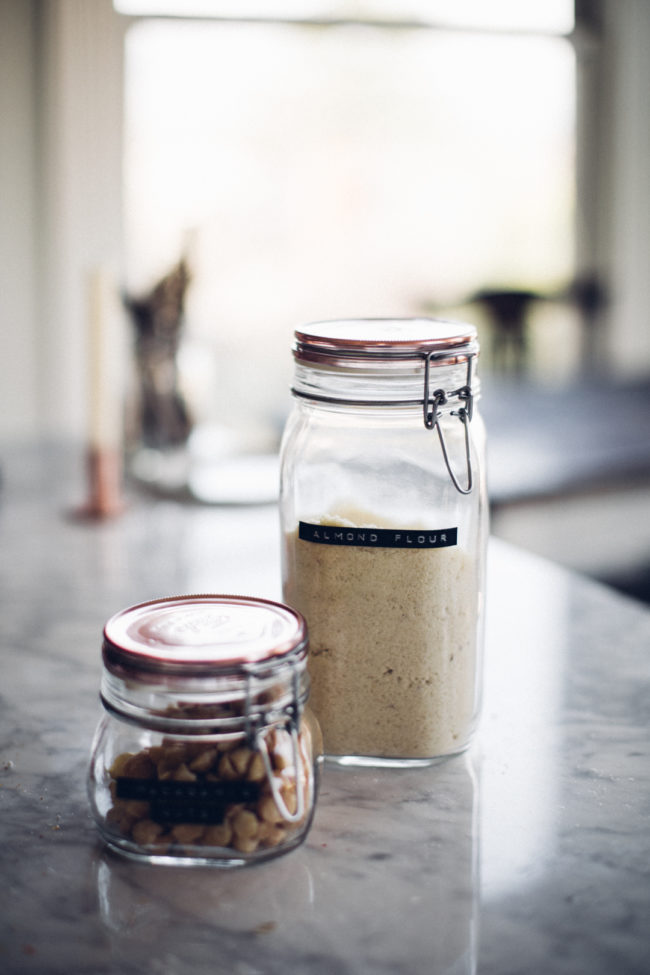
I made sure that all the product I chose was cohesive so that it would look good (ok, gorgeous) together on my shelves. I knew this would be an investment that I’d enjoy for years (jars never wear out!!). Here are a couple links to my favorite 3 types of jars I chose :
- Fido Jars with copper lids, various sizes
- Acacia wide mouth jars, for easy access primary ingredients
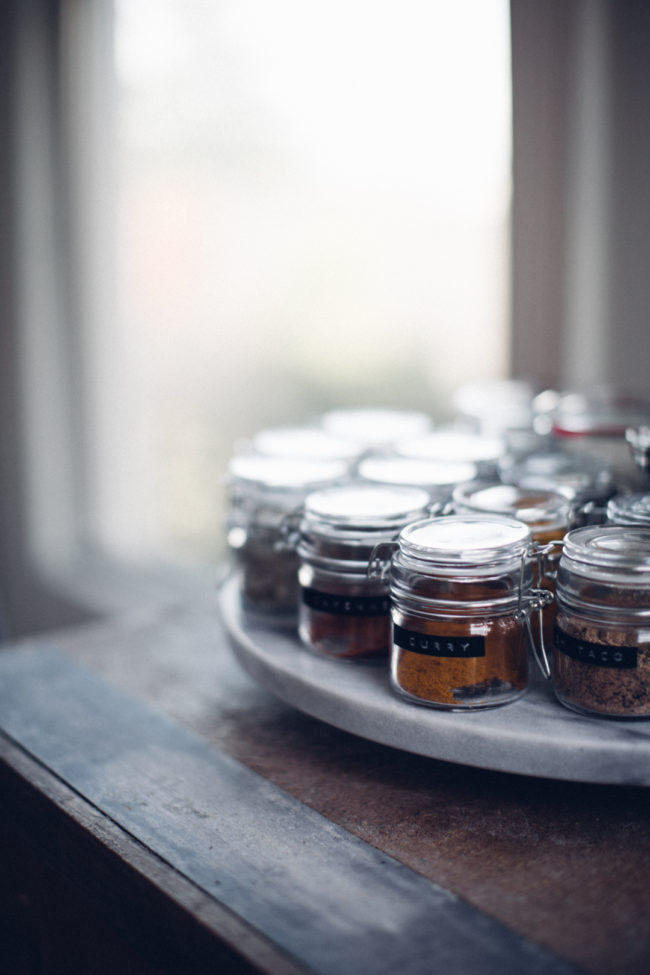
- Mini spice jars
4. Label Accurately
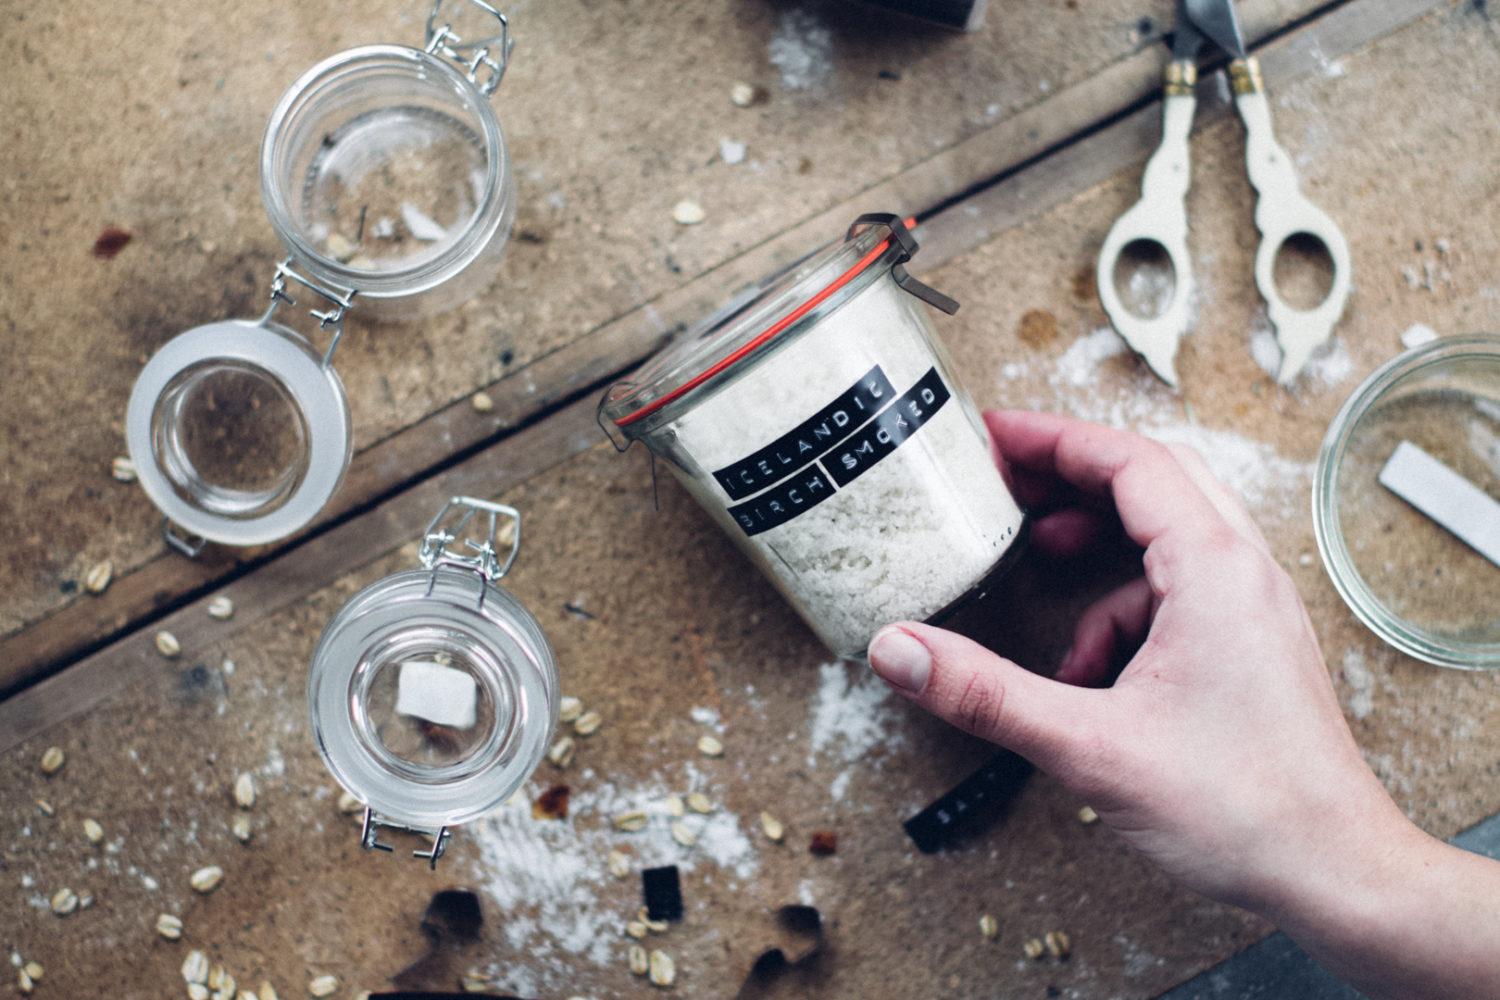
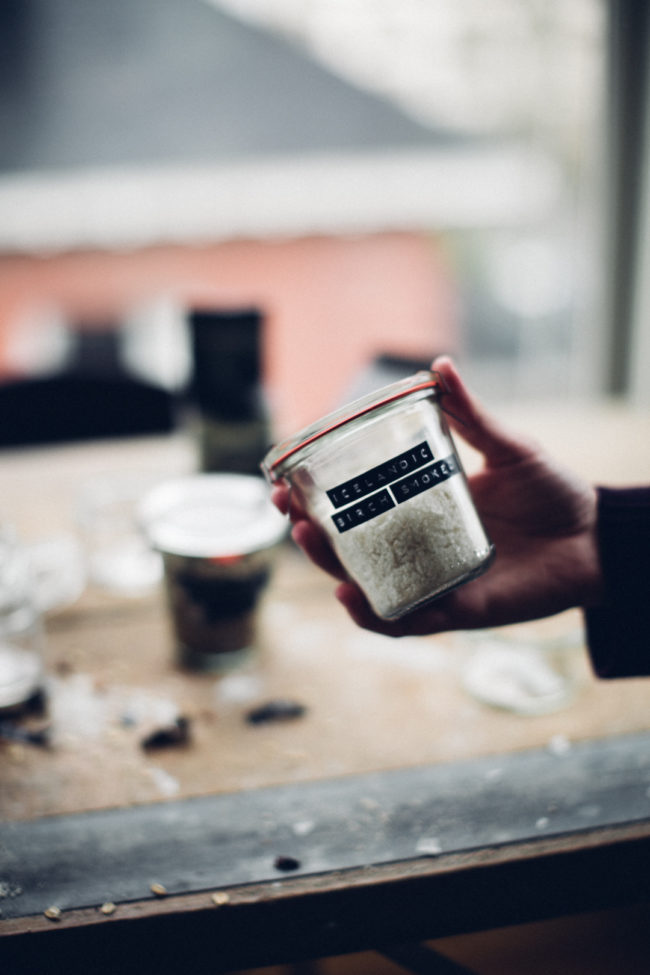
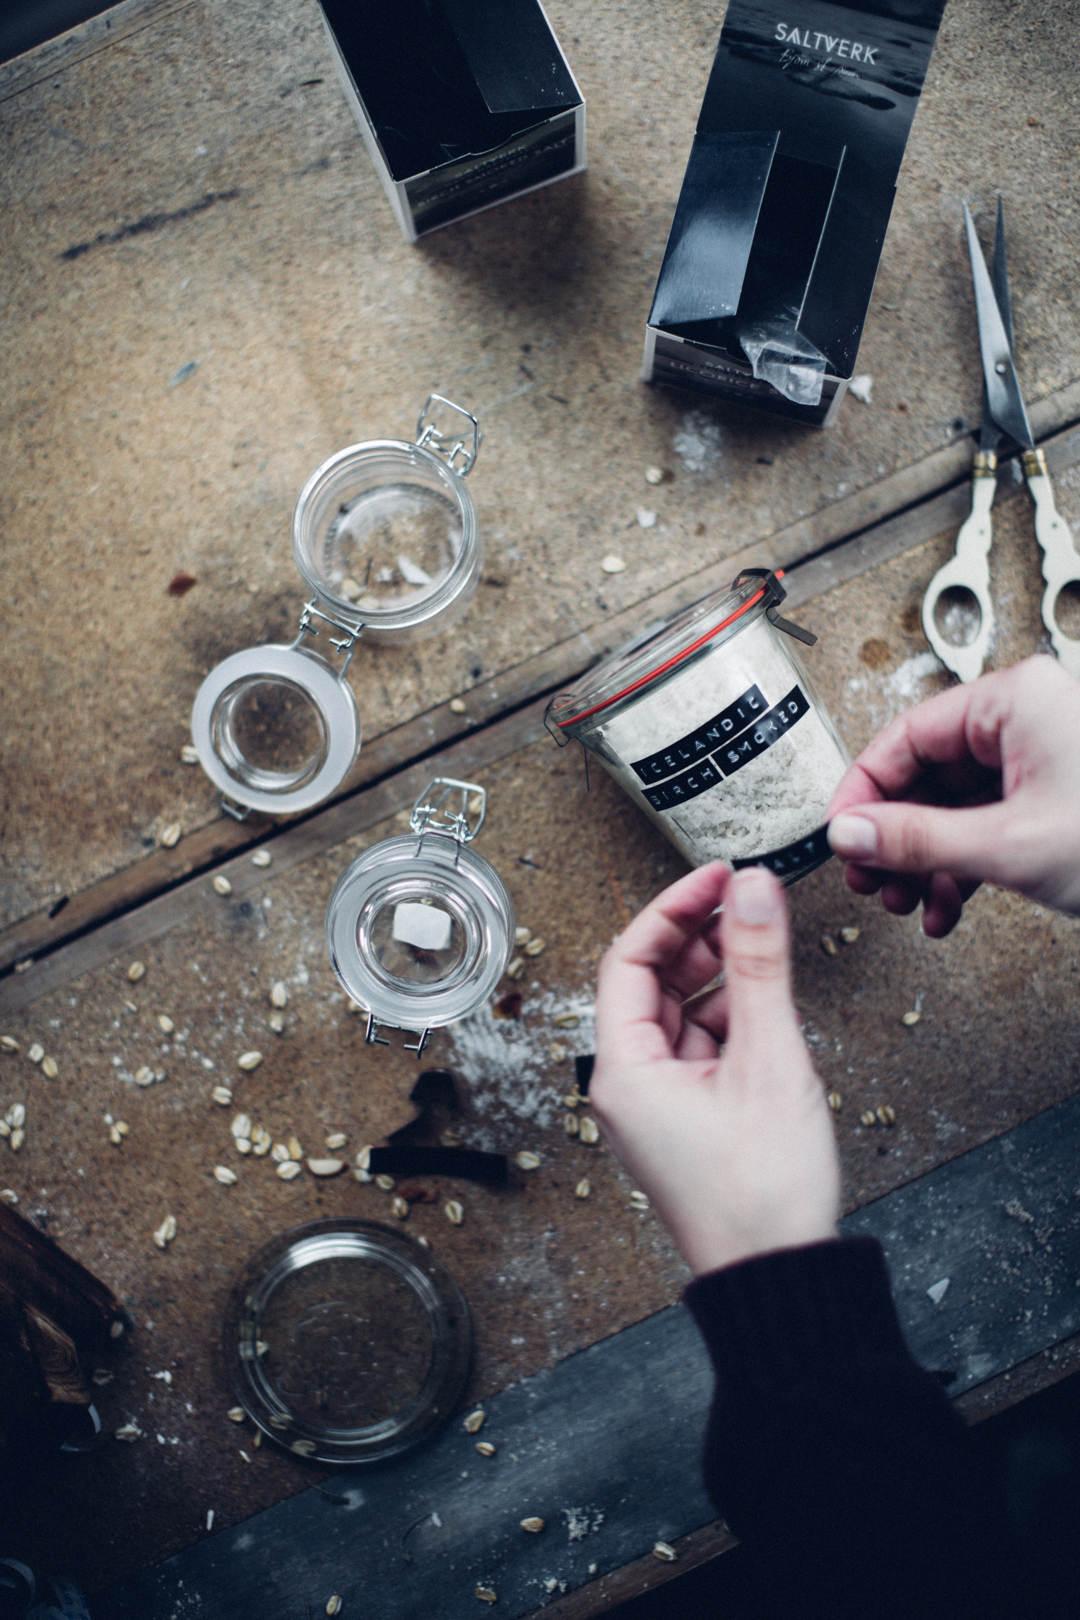
I bought a label maker! I wanted a sleek, vintage look so I got an embossing label maker for under $9 at Target.
Best. Investment. Ever.
And I can keep it around the house for various organizational projects – I wish I would’ve had this around years ago! I went through 2 full black rolls of tape – I’d recommend ordering 3 to be safe (note: the label maker comes with a set in various colors).
5. Set Aside a Little Time!
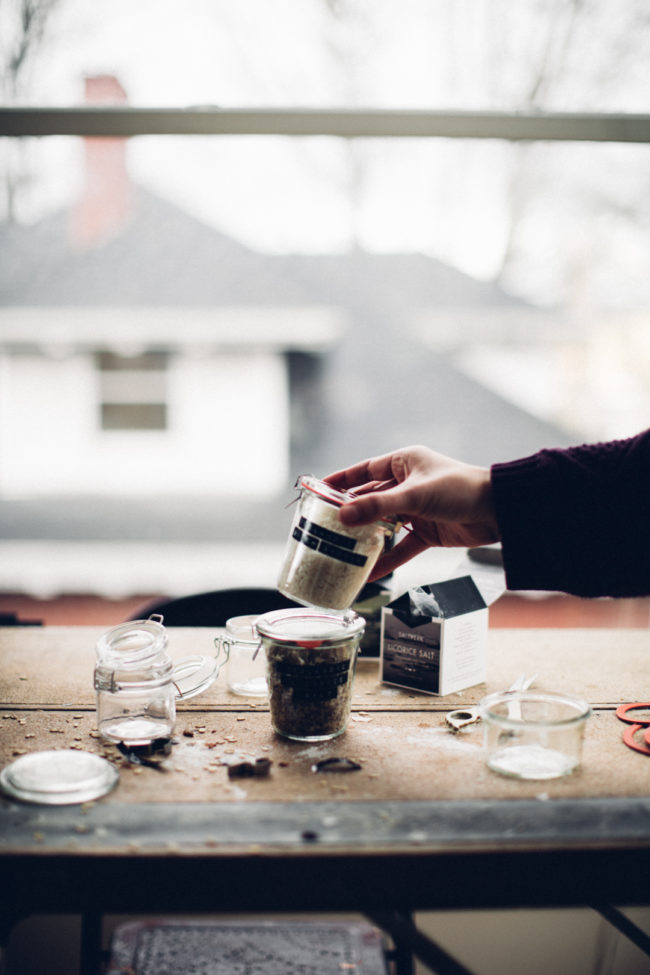
I set aside 1 work day and did it all – start to finish. The whole pantry was cleared out, wiped down and sorted and then everything went into a jar, and was labeled right then and there.
I put my most used items closer to front and then categorized left-to-right (i.e quinoa, rice, beans in one, all my seeds and nuts next, all my flour types next). I also did a date check on all my stock – did you know flour can expire?
A Pantry Makeover to Love
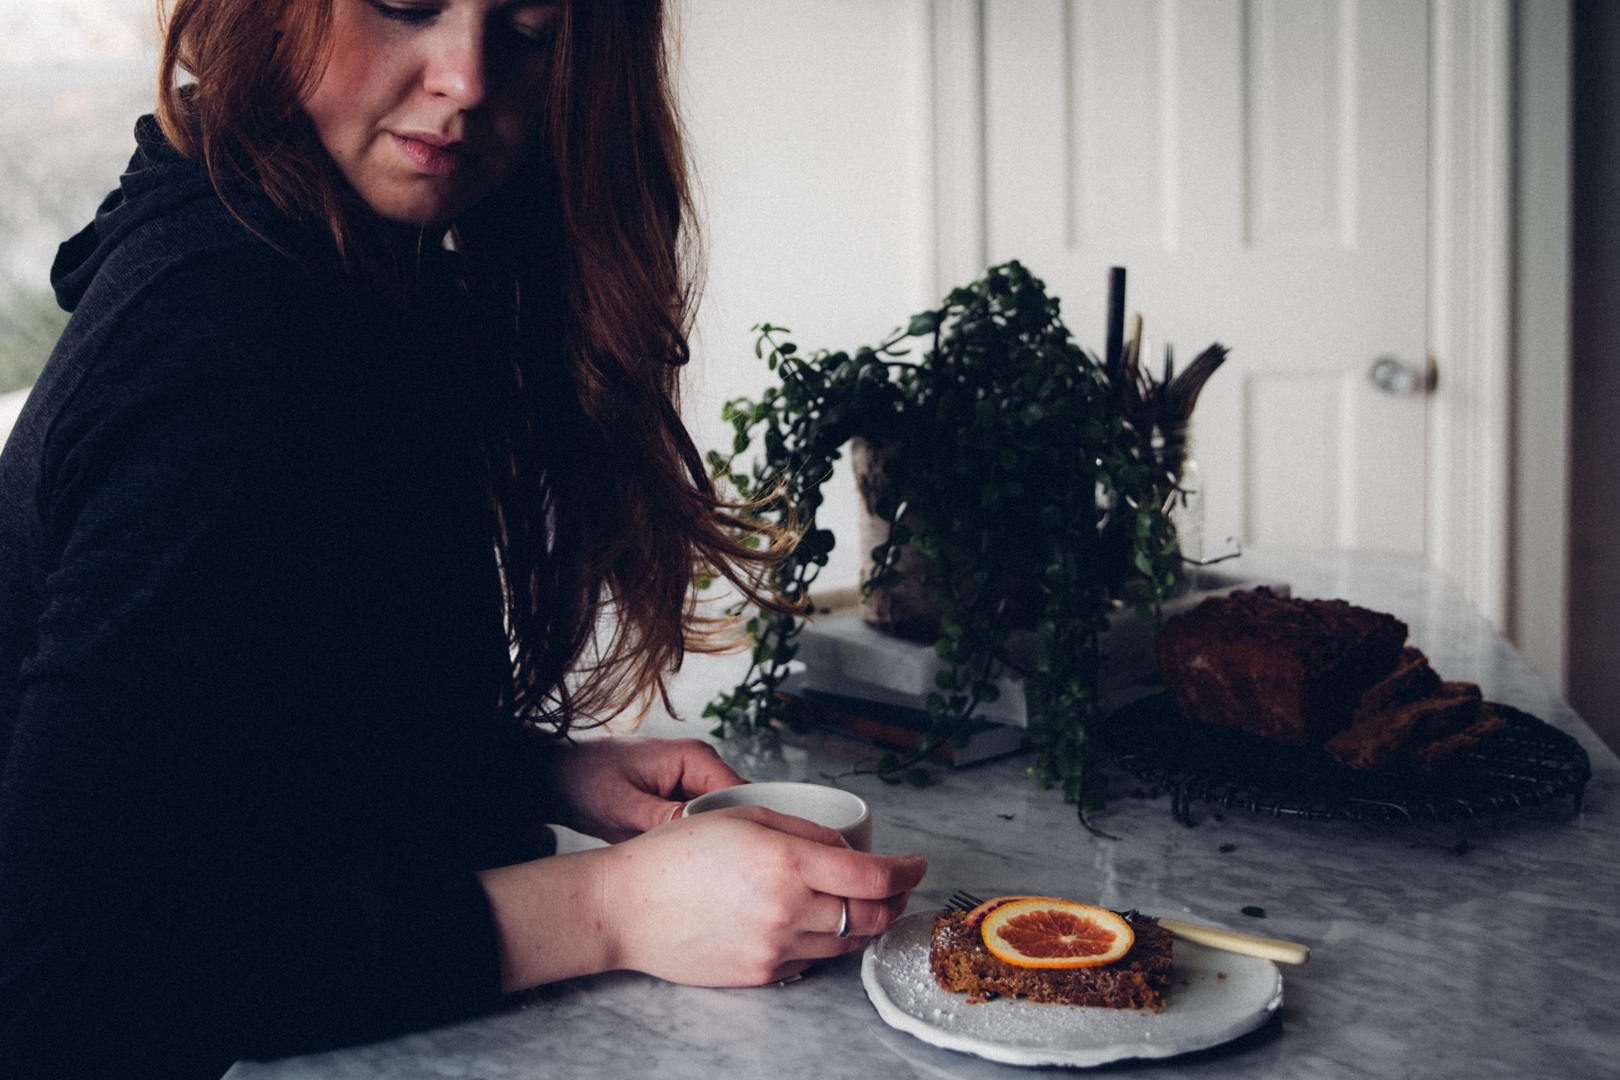
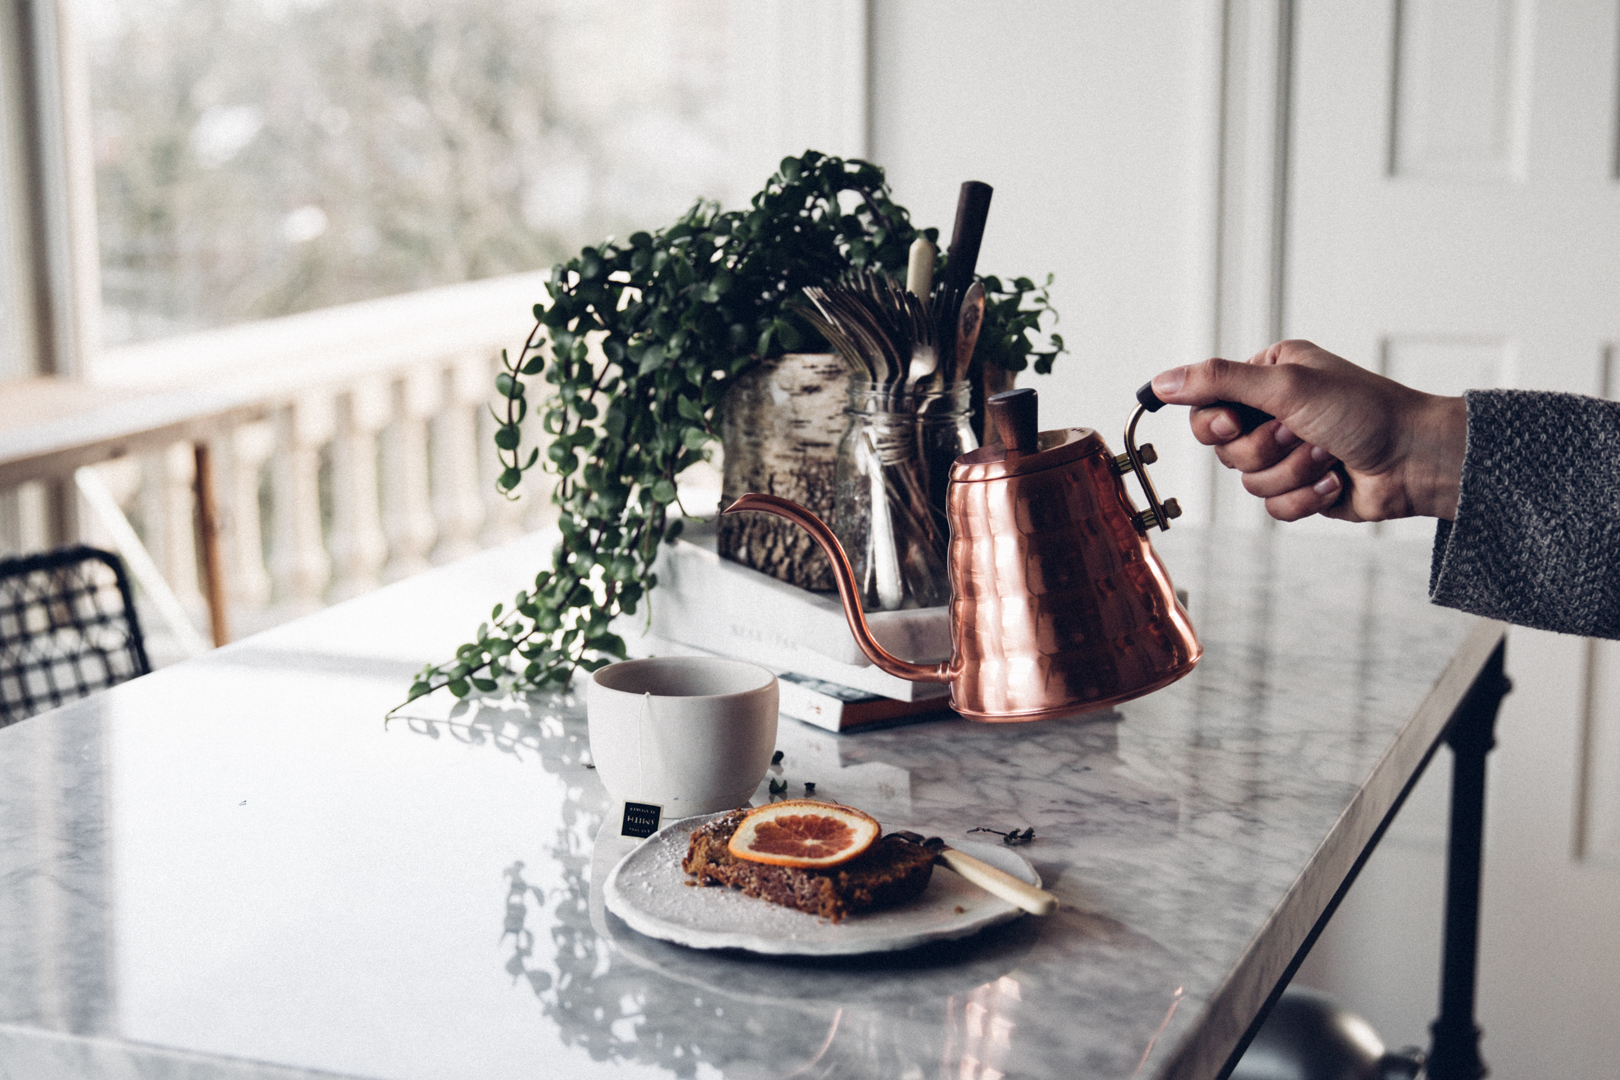
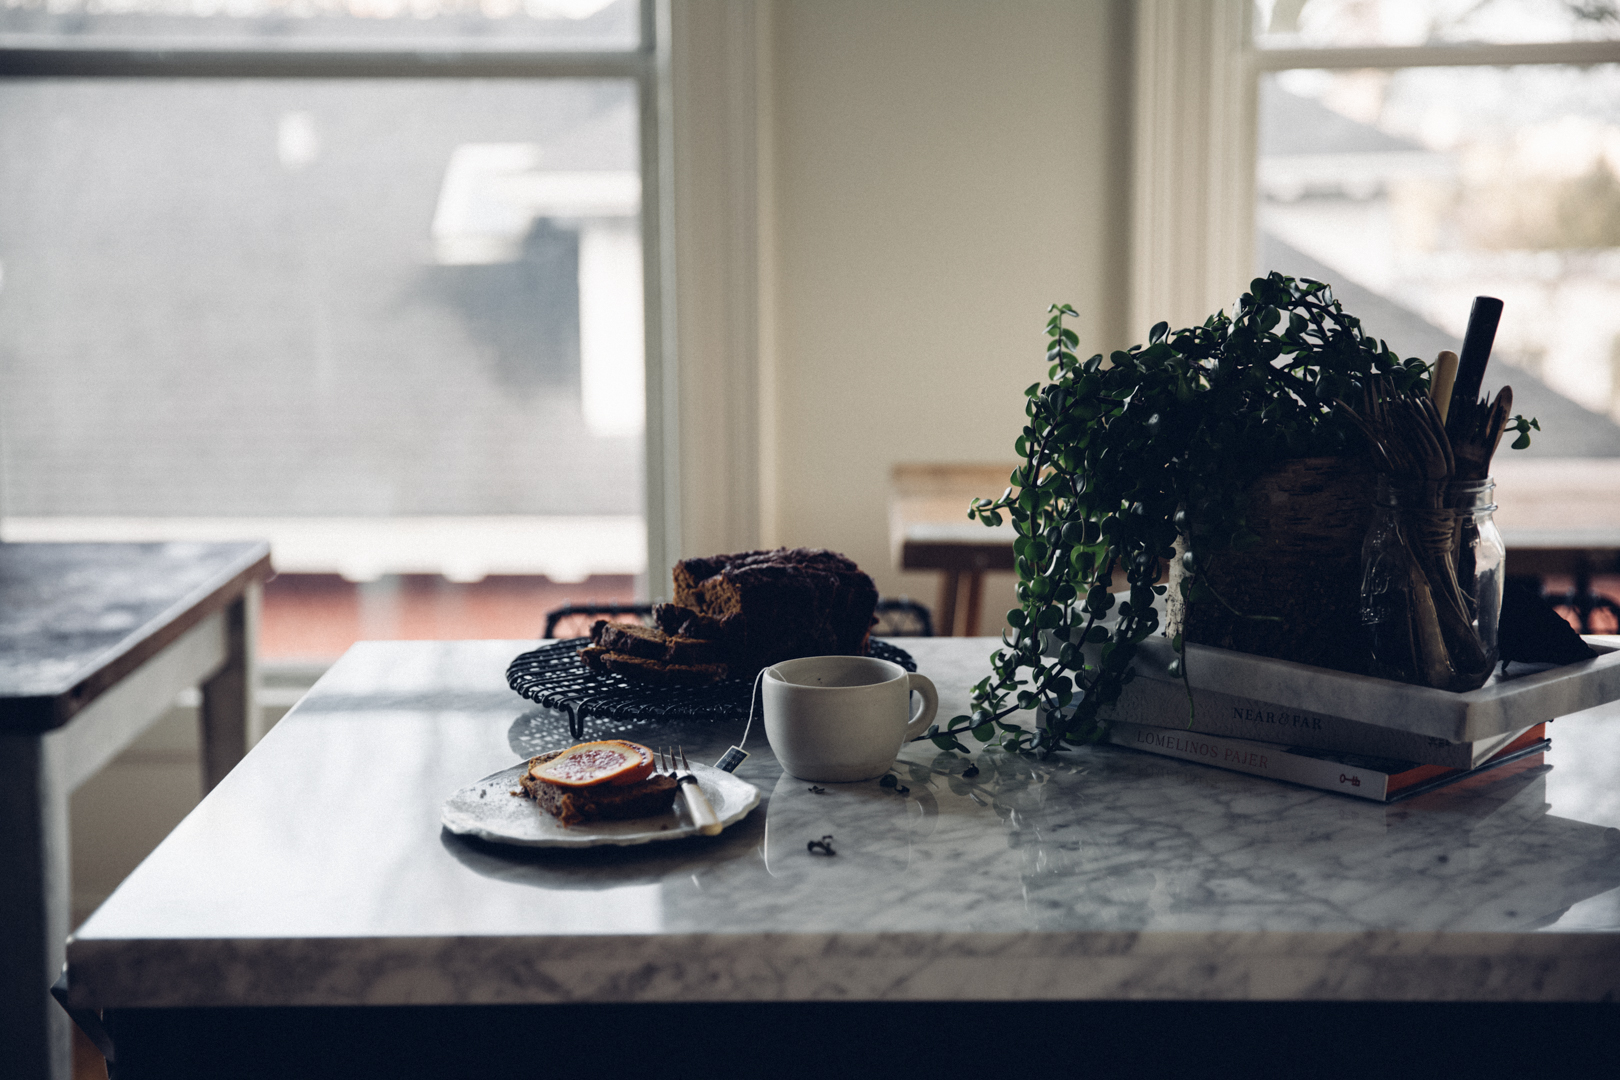
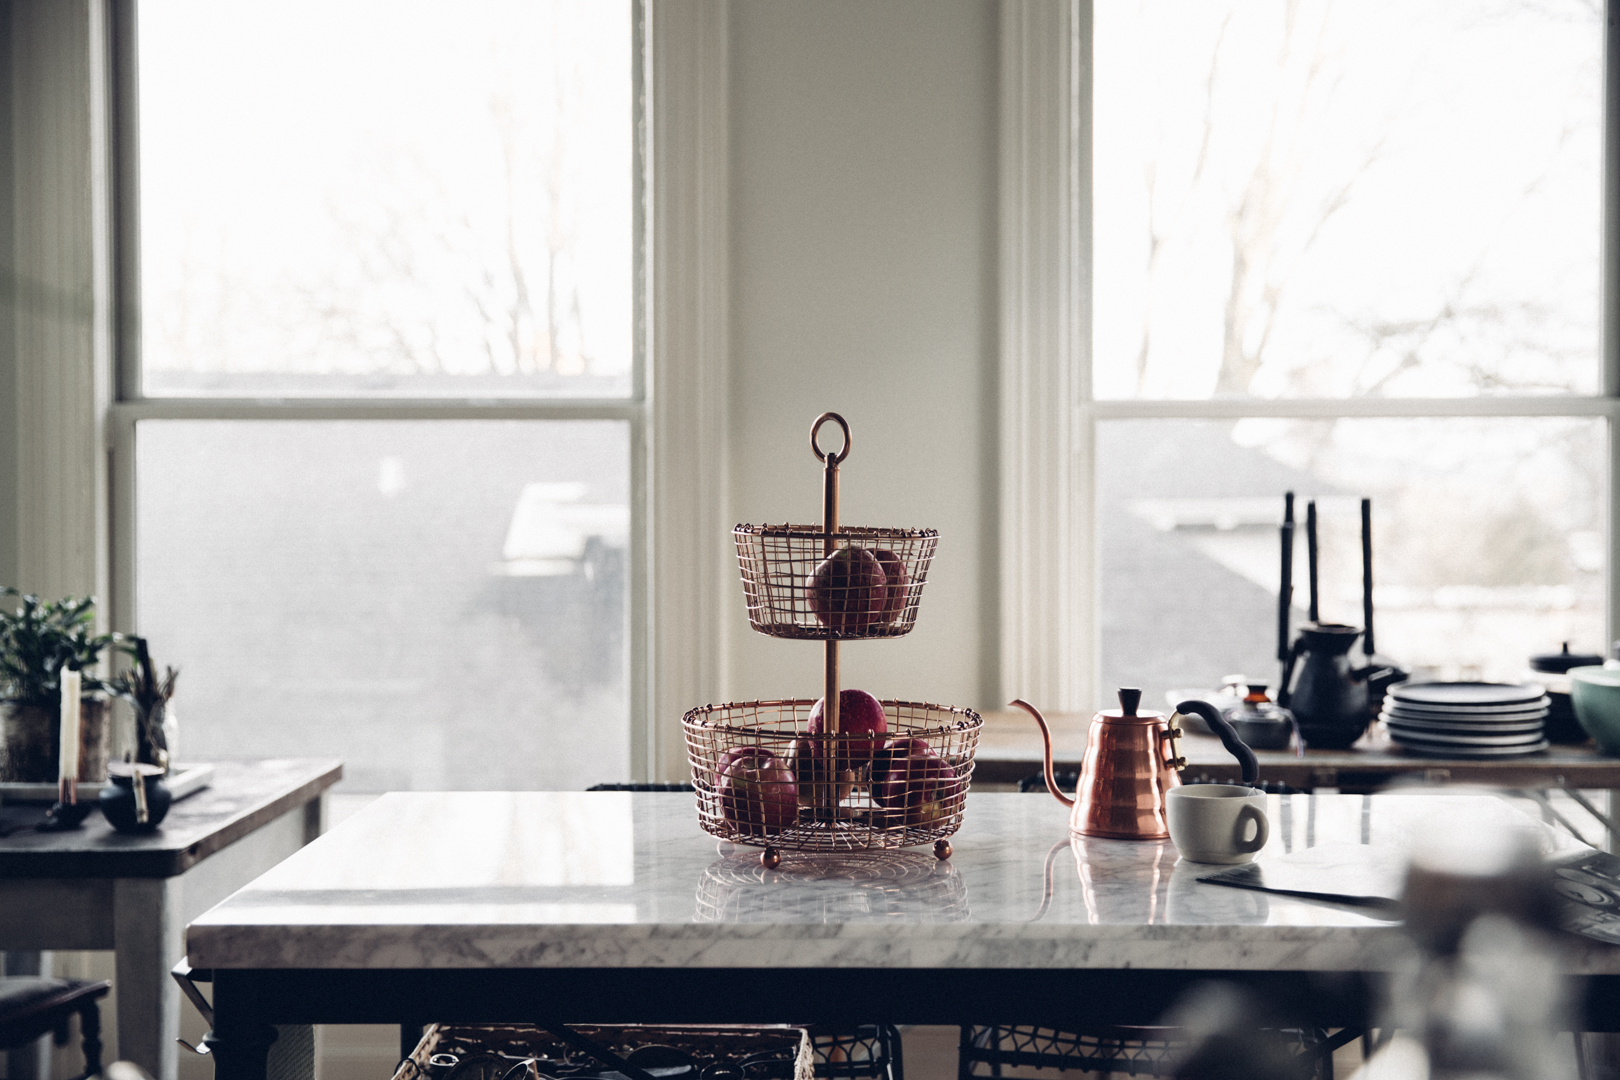
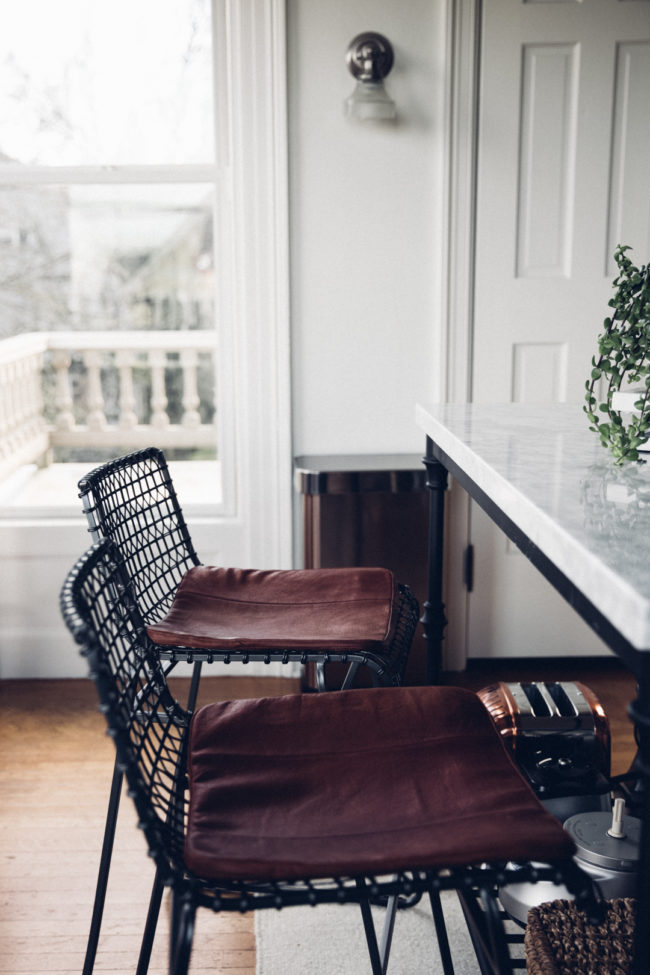
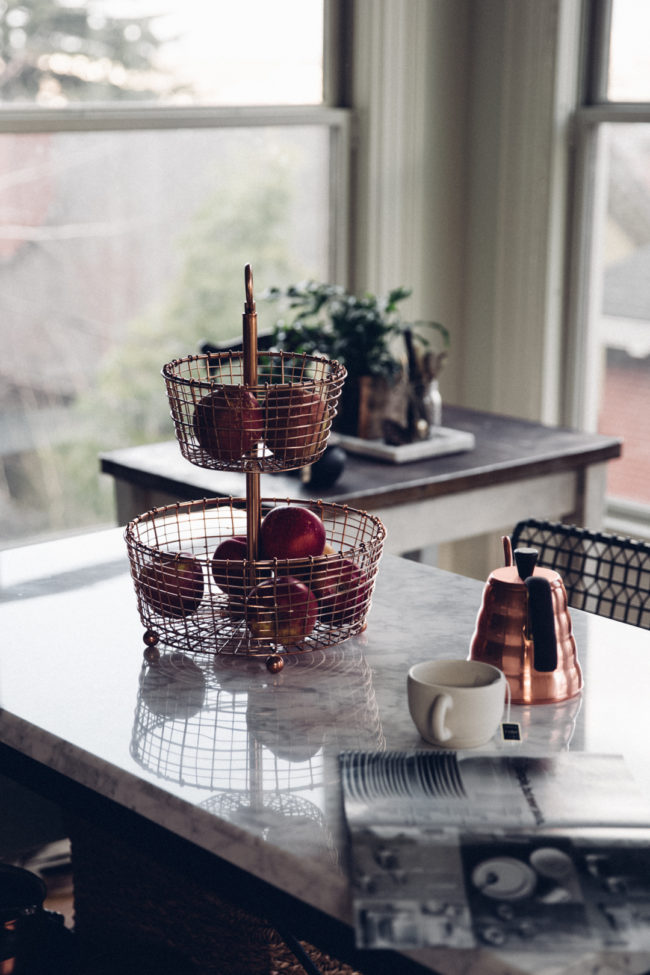
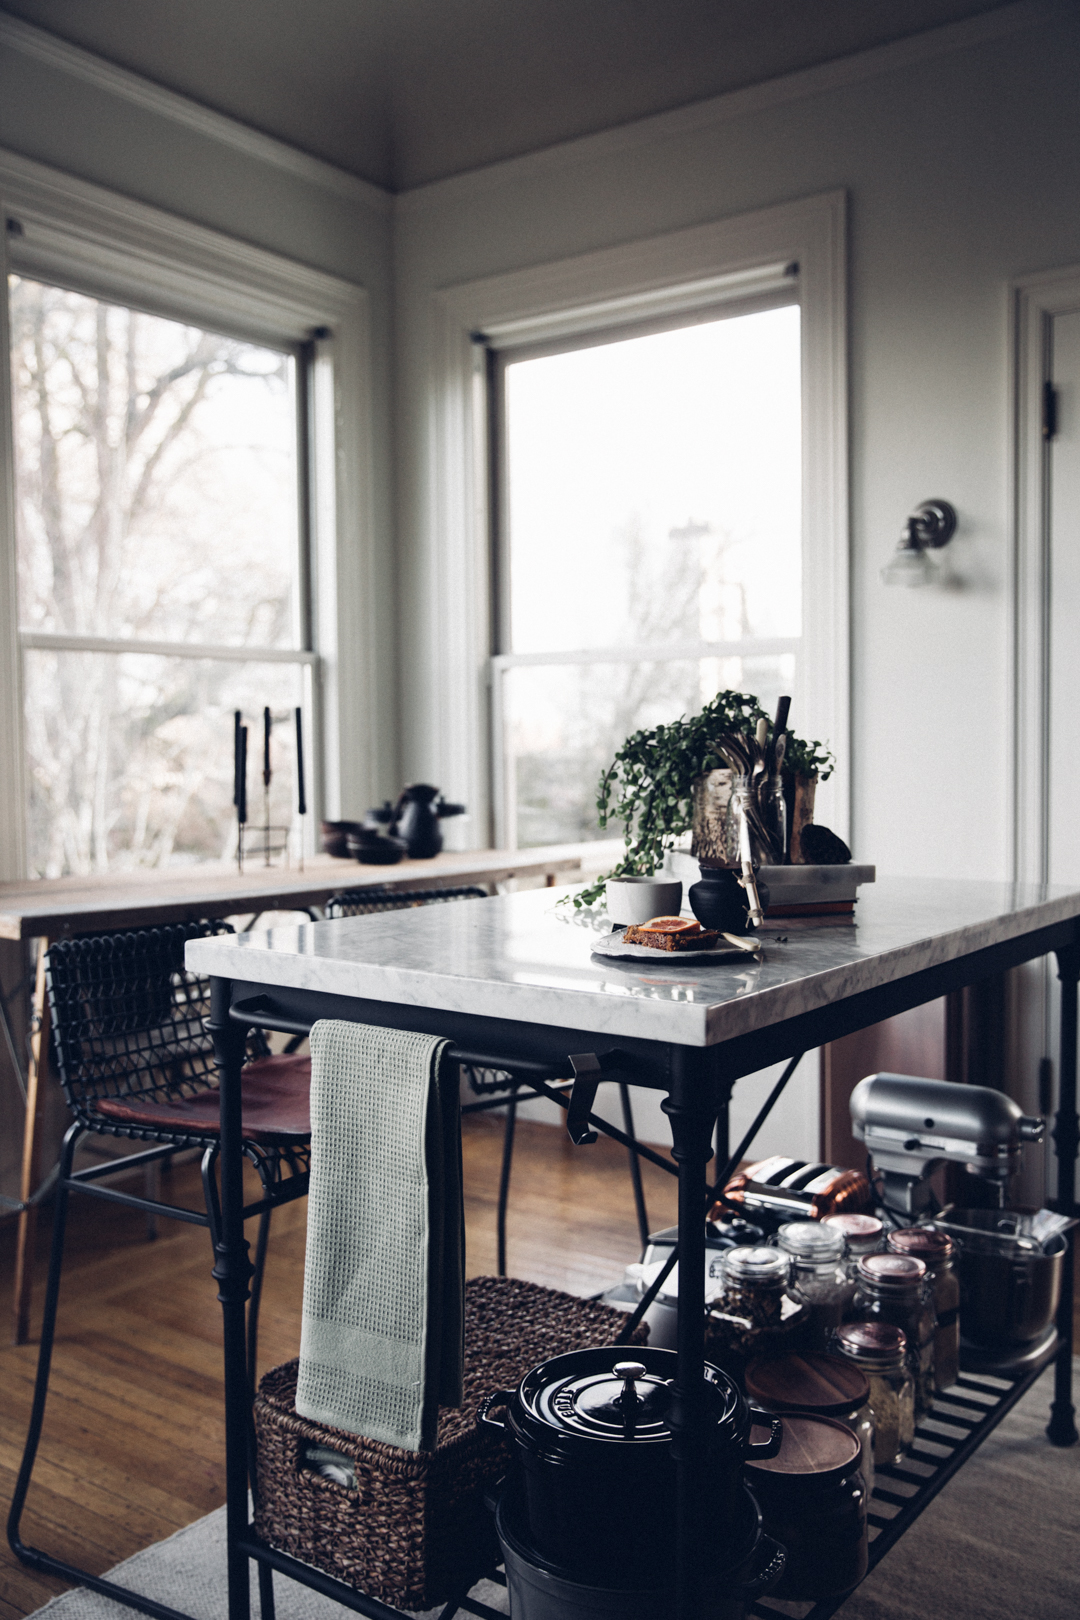
The result? I am one very happy cook!! In addition to my pantry organization project, I ordered this beautiful marble kitchen island (perfect for lower shelf storage), and also some new kitchen pieces to replace some old wares I had collected over the years.
The whole project felt so refreshing to complete, and I now want to use my pantry more than ever! I hope you also feel inspired to take on a pantry makeover of your own! You can see the full product line up over on Crate & Barrel at this link !
Any questions or comments? I’d love to hear from you in the comments!
