This week I am starting a series where I will be offering you some insider tips on how to develop your skills in the world of food photography. When I first started my blog I was clueless as to how to take a photo of a plate of food. I thought things like so do you just set it down on a table with a fork and pull out your iphone? I thought yes, and still have some of those photos around where I did exactly that, to remind me of how far I’ve come. In only a short few months I’ve seen myself grow in ways I thought would take months and years even.
A lot of dedication, time, frustration and hard work went into growing my craft as a food blogger and I am excited to start sharing some tips along the way for your benefit! I’ll come at this with a simple approach, inviting you along as I continue to learn and grow in developing my skills in food photography, styling, and beyond.

Whether you’re a food blogger or a home cook, I think you’ll find these articles interesting as many people have no clue what goes into not only developing a recipe from scratch but in styling a set and capturing the end result that you see here in my posts.
I’d love to hear your thoughts along the way and I’m happy to help answer questions and be apart of your process as much as possible. Say hi below or on the contact page and I’ll get back to you as soon as possible!
You can check out the coordinating recipe that goes with this article under the recipes tab ! You won’t want to miss it because it contains nearly 30 more photos in addition to the examples used in this post.

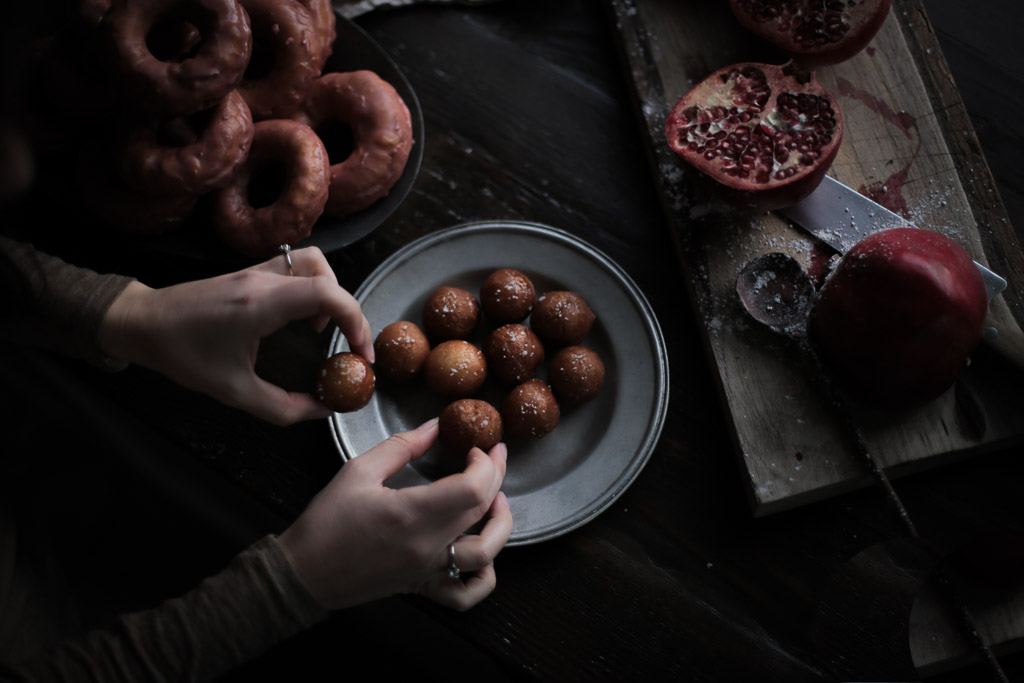
If you saw last week’s post, you’ll know that part two was coming and here it is! At the first of the year I spent a day with Eva in her kitchen where we laughed and chatted the day away with donuts, pomegranate glaze, sugar and camera in hand.
I really enjoyed being the primary photographer while she was developing and making the recipe as it allowed me to get so many wonderful shots. It was wonderfully refreshing to stand behind the lens, looking to capture the art of another chef in her kitchen.
No complaints either on how photograph-able her space is! Her kitchen was just recently remodeled, and to perfection might I add. I am sure you would agree that pretty much every food blogger’s dream would be to have a kitchen where you can take a photo of a wall and it’s print worthy and honestly, that’s exactly the way hers is!

Whether you’re a food blogger or a home cook, I think you’ll find these articles interesting as many people have no clue what goes into not only developing a recipe from scratch but in styling a set and capturing the end result that you see here in my posts. I’d love to hear your thoughts along the way and I’m happy to help answer questions and be apart of your process as much as possible. Say hi below or on the contact page and I’ll get back to you as soon as possible!
Coming into this shoot, I didn’t really know what to expect as it was my first time in Eva’s kitchen. All I knew was that her work is amazing and that we have a complimentary style in our aesthetics and the way we approach recipe development and shooting. Which by the way if you haven’t visited her site, definitely make sure to check it out and say hello while you’re at it!

I eagerly showed up in the morning , ready to take on the day as it came, hoping to grab a handful of photos. To be truthful however, I ended up with a few hundred photos by the end of the day! I actually kept putting my camera down though because I knew I could shoot for hours and end up with an insane amount of photos that I would then have to sort and edit through in the following days after which brings me to my first tip:
- Be aware of the amount of photos that you’re taking
Sometimes it’s hard to keep this in mind when you’re in the heat of the moment, this being due to for instance, when you’ve just pulled a steaming roast out of the oven and you only have minutes or even seconds available to capture the intensity of the steam coming off the dish.
It’s in moments like these where you need to ensure you’ve captured what you need for your post. But, keep in mind that it’s likely that you’ll only be able to utilize one of those photos.

Photo by Eva Kosmas Flores
- Keep your eye out for duplicate photos in your post
So I walked away with a few hundred photos from my day with Eva. It was amazing and all together overwhelming, in a good way! Nonetheless, it was challenging because there were so many stellar photos I ended up with, that I just had the hardest time narrowing down the 125 + Eva’s shared selection down to the 30 or so for my post. I found that even after I narrowed as far as I thought I could go, I still had a few duplicate photos in my post. For example, I had 3-4 shots in the post that were all of the racks of donuts before they had the glaze on them. Each one had a unique and particular angle, style, and light, yet, they were all just too similar to post.
- As you train your eye, you’ll find that you’ll start to see all of those beautiful details within a photo. To the untrained eye however, these images will all look the same. Remember, quality over quantity.

With time, experience and development of your photography and styling skills, you’ll be able to take less and less photos, capturing just what you’re looking for more accurately. Depending on what level you’re at in your photography, you’ll likely find the need to take those dozens of photos just to ensure you actually captured what you intended. There will come a point however, where less is more because lets be honest, no one has tons of free hours on their hands to sort through those 40 shots you took of that one pot on the stove.
- Even though you’ll be able to capture tons of different angles, you will only need the one ultimate shot, so slow down and think before you click.


Make sure to check out the coordinating recipe that goes with this article under the
You won’t want to miss it because it contains nearly 30 more photos
in addition to the examples used in this post.
