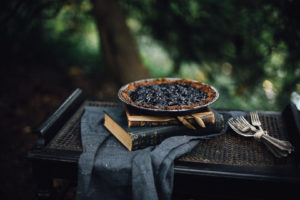
This Salted Chocolate Tart is the first in the Portland Fresh Launch Party series where I will bring you all the recipes served at the recent launch party!

In choosing what to prepare and serve for the tasting event, I searched to find appetizers and desserts that were impressive yet took little time and effort to prepare. This was due to a crazy last couple of weeks spent preparing for the launch and all the final details to sort through on this site, not to mention my full time job! Seriously, planning parties are so wonderful and fulfilling, but trying to prepare for a fantastic party in the middle of real life is not easy. I’m here as living proof that there’s a way to do well and with minimal time involved.
This Salted Chocolate Tart was a favorite of mine and is definitely a keeper. I made a couple of changes (naturally!) to the original to give it my own flair and was so delighted in how it turned out. It starts with a chocolate crust that you bake in advance which allowed me to break up the steps into two nights. The first evening I prepared the crust and froze it uncooked in the freezer. The next day I pulled it out and baked it in the oven. While it was cooling, I prepared the filling which took all of five minutes on the stove to melt the chocolate, adding the cream, butter, salt and honey. As soon as the crust was fully cooled, I poured in the filling, sprinkled my addition of fresh ground himalayan sea salt and then wrapped it and placed it in the fridge over night to set. So easy!
When I had the first bite of this tart, which happened to be the day after the party (yes I know- I should have taste tested it, but what do you do! There was no time….). My reaction was pretty hilarious actually; I stopped and said out loud, What?! Well that is amazingly delicious.
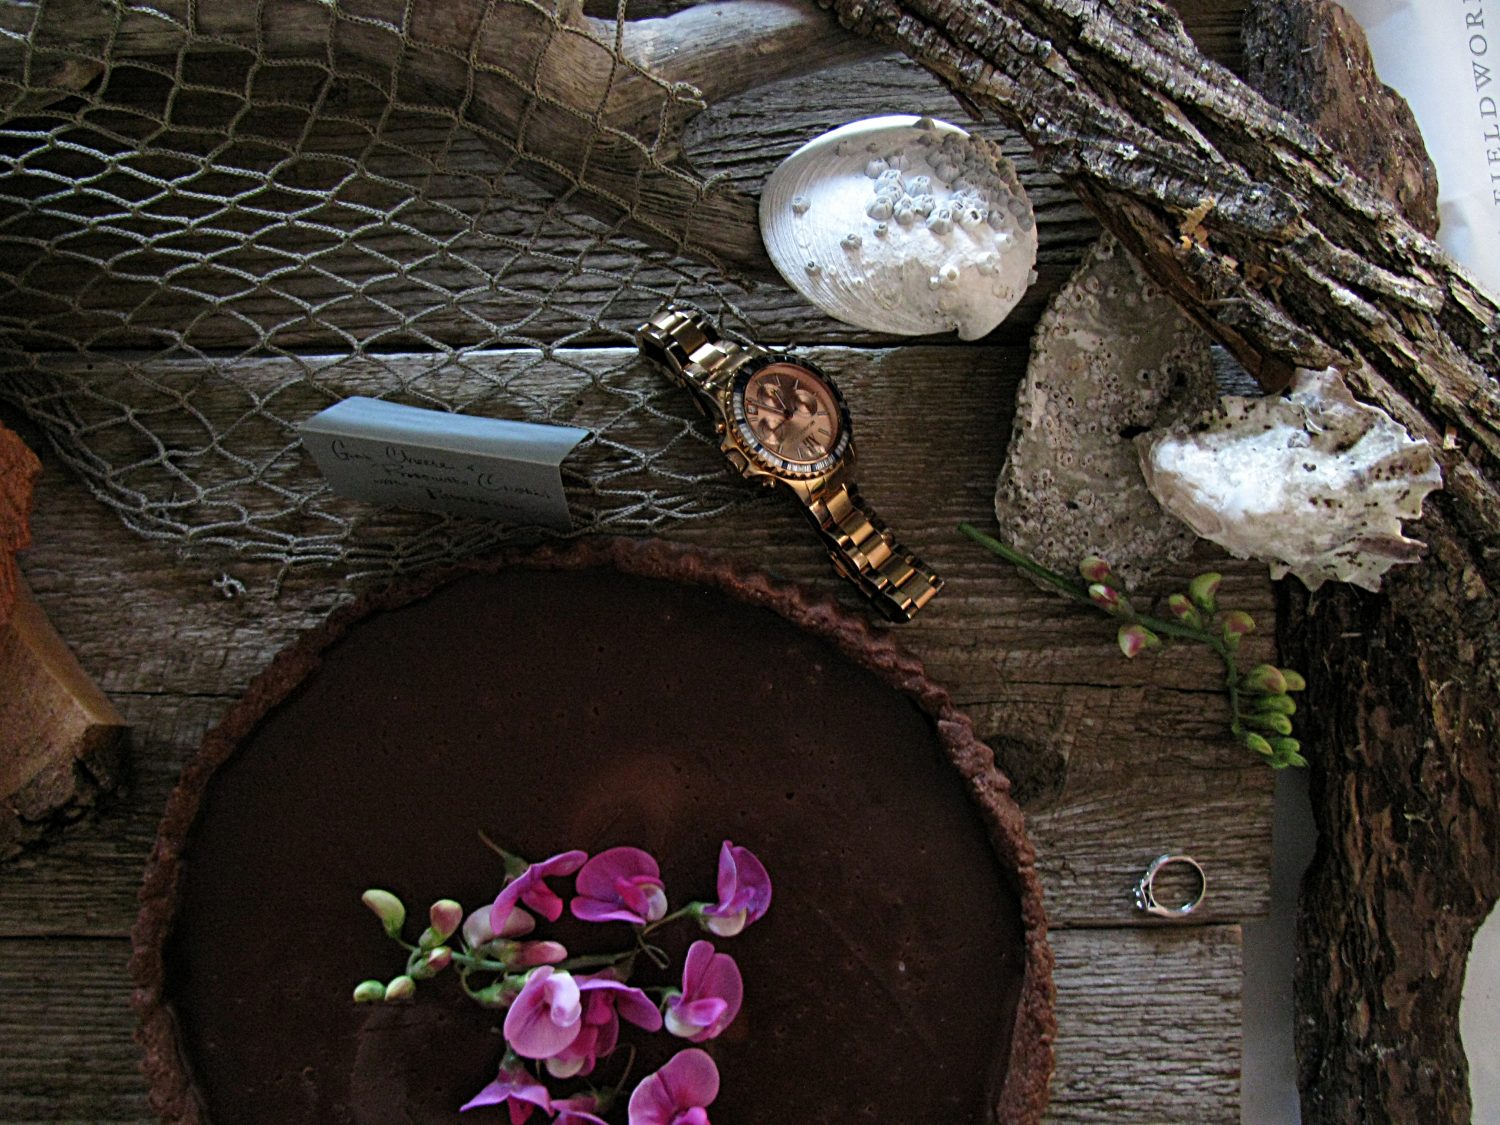
For the garnish, I used Sweet Peas; for one because I loved the contrast of the bright color against the dark, rich chocolate, and secondly because outside my work we have a field of wildflowers growing incessantly. I actually was inspired by their stunning color and chose the chocolate tart to compliment the sweet peas. I’ll tell you what, food and the beauty of it is changing my life and how I approach creativity. I now walk into the farmers market focusing on color and shapes, creating concepts around what is in season to capture all it’s vibrancy. Pretty amazing and definitely inspiring.
For all of you who came to the party, I hope you enjoyed this dessert as much as I did! I’m looking forward to finding more ways to utilize the convenient chocolate filling that only needed to set in the fridge as it saves so much oven and prep time. If you have any ideas on other creatives ways to use the chocolate filling, please share! I’d love to hear.

Salted Chocolate Tart
Lightly adapted from Bon Appetit’s Chocolate-on-Chocolate Tart with Maple Almonds
CRUST
2 T. Unsweetened cocoa powder
2 T. Sugar
¾ t. Pink himalayan sea salt
1¼ C. Flour
½ C. Butter, chilled & cut into pieces
1 Egg yolk
3 T. Ice water
FILLING
10 oz. Bittersweet chocolate (at least 70% cacao), chopped
1/4 C. Butter, chilled & cut into pieces
1½ C. Heavy cream
3 T. Honey
½ t. Pink himalayan sea salt, plus more for dusting
To prepare crust
In a food processor, pulse coca powder, sugar, salt and flour. Cut in butter and pulse until it resembles course grounds. In a small bowl, beat eggs and water. Slowly pour into processor until a dough forms.
*You may have to add more water depending on the humidity and weather in your area; only add enough water to create a slightly sticky dough.
Remove dough from processor (or bowl if your cutting in butter by hand with a pastry knife) and knead on lightly floured counter only enough to form into a disk, approximately 1″ thick. Wrap tightly in plastic and place in fridge for at least 1 hour or overnight.
Preheat oven to 350 degrees. Roll out dough on lightly floured counter into a 12″ round. Transfer to a greased 9”-diameter tart pan with removable bottom. Gently press dough into pan, trimming to leave a 1″ overhang. Fold in overhang; press to adhere and create a thicker edge on the top of the crust. Prick bottom with a fork. Chill in freezer for 15 minutes or overnight.
Bake crust 30-40 minutes from frozen until it appears dry around the edges. Dough can be made 2 days in advance; keep chilled. Crust can be baked 1 day ahead; store tightly wrapped at room temperature.
FILLING AND ASSEMBLY
In a double boiler, bring cream, honey, and salt to a boil, whisking constantly. Remove from heat. Add chocolate and butter and let stand for two minutes. Whisk until chocolate and butter are melted and mixture is smooth. Pour filling into crust and chill until set, at least 4 hours.
Make sure that when you cover the tart, the foil or plastic wrap does not touch the top of the tart, to ensure a smooth, smudge-proof surface.
If using sweet peas as a garnish, please note these are NOT edible flowers. For a list of flowers that you may utilize and eat, Thompson & Morgan has a list you can reference.
[/recipe-box]